These Xbox controller cookies are the perfect cookies for a teenager’s birthday party, perfect for the gaming lover in your life who will love the delicious sugar cookie dough and tribute to their favorite hobby.
When it comes to making decorated cookies, many people automatically think of things like flowers, animals, frilly dresses, baby shower cookies – but guess what?
These Xbox controller cookies aren’t frilly or pastel at all, but they’ll go down a treat with the group of video game lovers who can enjoy them while they’re delving into other worlds.
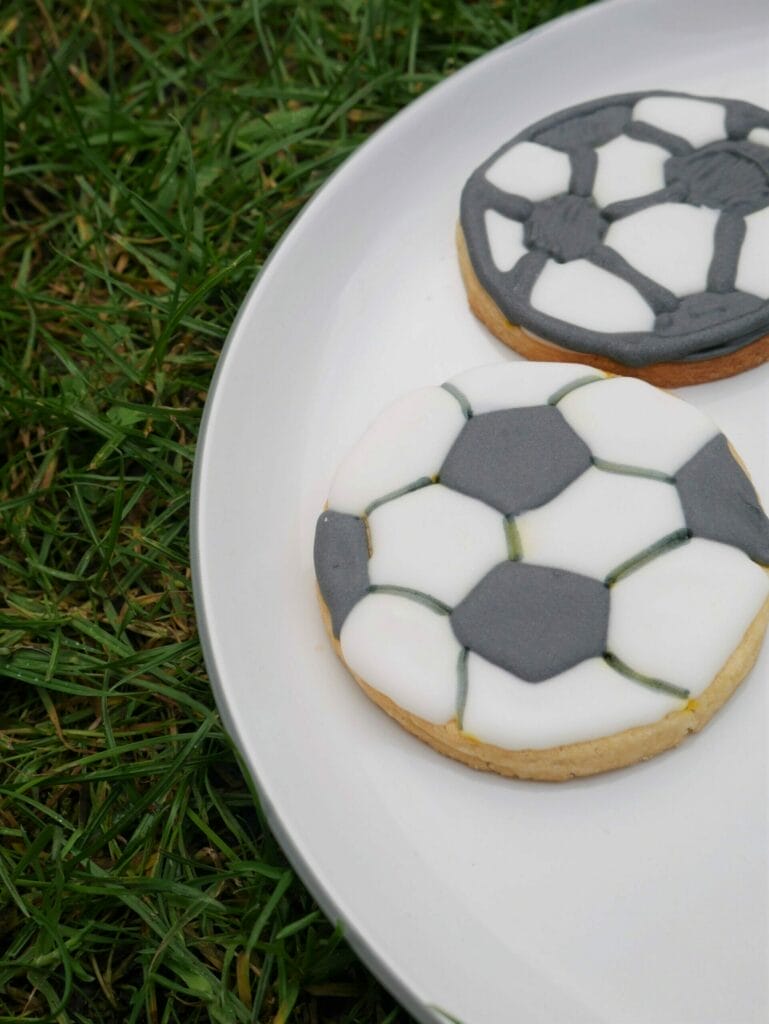
If you’re looking for more “teenage boy” decorated cookies, check out my soccer ball cookie tutorial!

You can adjust these video game controller cookies to match the game console of choice, but this tutorial is specifically for Xbox cookies.
Enjoy this Xbox controller cookie tutorial, including how to make Xbox controller cookies and how to decorate Xbox controller cookies.
GET A FREE COOKIE RECIPE BOOK & SECRET BAKING HACKS!
With 9 guaranteed-delicious cookie recipes and plenty of secret baking hacks, this is your ad-free key to cookie success!
What Tools Do I Need for XBox Controller Cookies?
Before you make XBox controller cookies, make sure you have some essential tools including:
- either an Xbox cookie cutter or a template that you draw yourself on paper
- a baking tray
- silicone mat for baking the cookies – these are the best
- 4 different colors of M&Ms or colorful chocolate candy
- an edible black marker
- piping bags (disposable or reusable) – I use these and they work well
Must-Have Baking Tools (seriously)
- Silicone baking mats – I use this brand and my cookies slide right off without burning!
- a cookie scoop – get this one. It makes the perfect rounded cookies every time!
- silicone spatula – try this set. It’s the best way to get the most out of your dough and batters
- rolling pin guides – I use this one. Genius way to roll your dough out evenly!
What Ingredients Do I Need for XBox Controller Cookies?
XBox controller cookies are made out of sugar cookie dough and royal icing, so you’ll need the ingredients for both to make the final cookies.
For the cut-out sugar cookie dough, you’ll need: powdered sugar, regular sugar, plain flour, vanilla extract, eggs, baking powder, butter, and salt.
For the royal icing recipe, you’ll need: meringue powder, water, powdered sugar, and vanilla extract.
I use meringue powder as opposed to egg whites for my royal icing as it’s easier to store, doesn’t have to be refrigerated, and is safe for pregnant women to eat!
How to Make XBox Controller Cookie Dough
Making the cookie dough is one of the most important parts of making these cookies, not just because you need a base to put the icing on, but because you need to make sure you use a cut-out sugar cookie dough like this one to make sure that the shape doesn’t spread in the oven.
If the shape spreads in the oven, you’ll have just a blobby mess of cookie instead of an XBox controller and then your work will be for nothing.
The recipe talks you through how you need to chill the dough and for how long – this is an essential part of making sure the dough doesn’t spread, as well as making sure that your oven is at the correct temperature and that you are using a room temperature baking tray.
How Do I Use Royal Icing for XBox Cookies?
Once you’ve made the cookie bases, you’ll need to use this royal icing recipe to make the royal icing to decorate the cookies with.
New bakers can be scared of using royal icing, but it’s really fun one you get the hang of it.
I practiced just a couple of times before I was able to do it smoothly.
The key to royal icing is to make sure that you’re “flooding” the cookie with a thinner icing than what you are “detailing with”, as you want the flood or main base of the cookie to be smooth and the detail to be defined.
For these cookies, I used a “12 second” consistency for the base black icing – this means if you were to drag a knife through the icing, it would take about 12 seconds for the line to disappear.
For the detailing, I used stiff royal icing which didn’t move if you were to cut a line through it.
Must-Have Decorating Tools
- Piping bags – I use and love these ones
- Gel food coloring – much better than liquid food coloring
- Meringue powder – I use this kind for my royal icing
- Scribe – for awesome detail and clean up
How to Decorate XBox Controller Cookies
You can decorate these XBox controller cookies like a black or white XBox controller, but I’ve done black here as an example.
The first thing you need to do is to outline the entire controller in black royal icing.

Immediately flood the base in with more black royal icing (a flood consistency).
Let this set for a couple of hours to make sure it’s nice and dry, and then you’re going to go in with your detail icing.

You’re going to want some grey icing, white icing, green icing, and a yellow M&M, red M&M, green M&M, and a blue M&M.
You could also use icing in those colors if you don’t have M&M.
Start by making a circle of white icing directly in the middle, then two circles of grey icing on the right and left bottom of the controller.
You should also make a grey circle towards the top left, as shown in the picture.
Wait for these to dry, and then add a green criss-cross shape across the white circle.
Add your M&Ms on the top right corner with the yellow up top, red to the right, green below, and blue to the left.

When you’re ready to finish it all off, add another layer of black icing on the top of each bump on the controller to be buttons, and use a black edible marker to add markings to the two bottom grey circles.
Decorated XBox Controller Cookies

These Xbox controller cookies are delicious, soft, and perfect for the video game lover in your life.
Ingredients
- 24 Xbox controller sugar cookies
- Batch of royal icing
Instructions
- Make a batch of sugar cookie dough and bake according to the cut-out sugar cookie dough recipe, cutting out Xbox controller shapes
- Make a batch of royal icing in black, and a tiny amount in green and grey
- Put the royal icing in piping bags
- Outline the entire controller in black royal icing.
- Immediately flood the base in with more black royal icing (a flood consistency).
- Let this set for a couple of hours to make sure it's nice and dry, and then you're going to go in with your detail icing.
- Start by making a circle of white icing directly in the middle, then two circles of grey icing on the right and left bottom of the controller.
- You should also make a grey circle towards the top left, as shown in the picture.
- Wait for these to dry, and then add a green criss-cross shape across the white circle.
- Add your M&Ms on the top right corner with the yellow up top, red to the right, green below, and blue to the left.
- When you're ready to finish it all off, add another layer of black icing on the top of each bump on the controller to be buttons, and use a black edible marker to add markings to the two bottom grey circles.
Recommended Products
As an Amazon Associate and member of other affiliate programs, I earn from qualifying purchases.