
As an Amazon Associate, I earn from qualifying purchases. In addition, I participate in several other affiliate programs that allow me to earn while I recommend products I love.
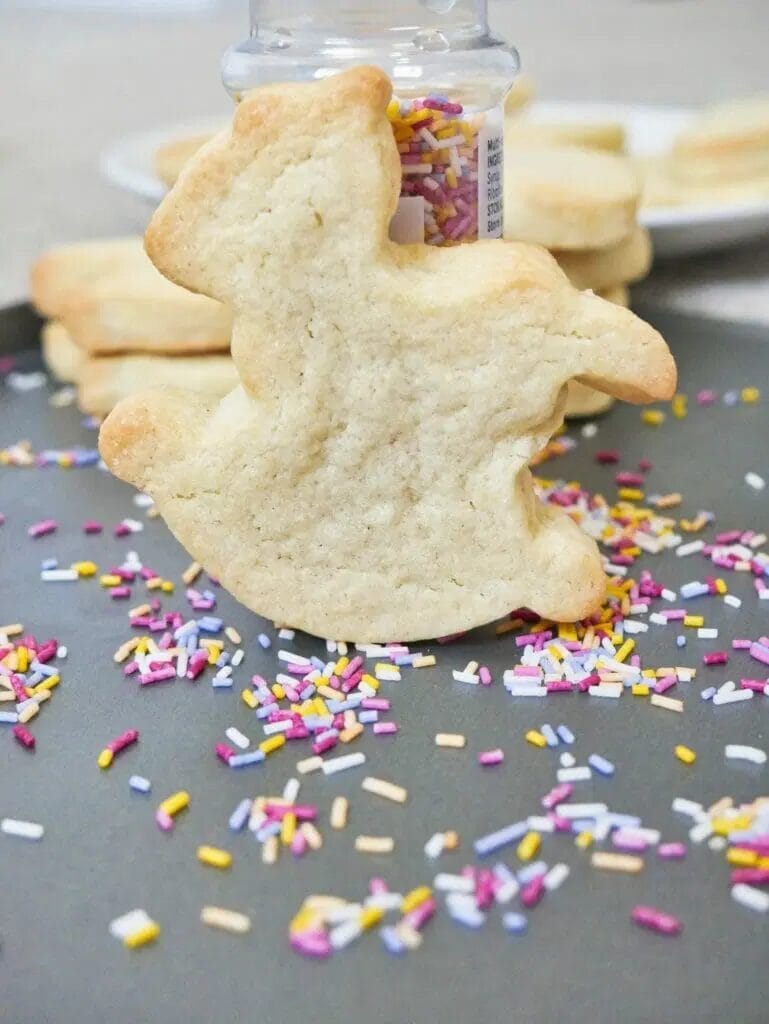
These adorable rocking horse cookies are perfect for baby showers or for small children’s birthday parties.
You can make them at home, which saves you money and means you can make them more personal to your child or whoever you’re giving them to.
Many people feel like making decorated sugar cookies is out of their wheelhouse, but I’m here to say that it absolutely isn’t!
These rocking horse cookies are made using a sugar cut-out cookie recipe, which is super easy to make and you just need a rolling pin and some cookie cutters (find the best rocking horse cookies here).
Then, you make 3-ingredient royal icing with meringue powder which is really easy to whip up and fun to play around with.

These rocking horse cookies are:
- super fun to make and decorate
- fantastic for bringing to baby showers
- easy to customize with whatever colors and designs you want
- soft and delicious to eat
When it comes to using this rocking horse cookie recipe, you should know that it does require some extra detail.
This is because the shape of the rocking horse is a bit more intricate, and if you get “spread” on these cookies in the oven, they’ll lose their shape quickly.
Tips for Baking Rocking Horse Cookies

You’ll want to use this sugar cookie cut-out recipe to bake rocking horse cookies.
These ensure that your cookies will be the same height and won’t lose their shape.
Part of not losing their shape involves refrigerating the dough, both after you make it, after you roll it out and finally after you cut it into shapes.
Don’t skip this step for these rocking horse cookies as it will really affect your cookies spreading and with the detail on these, you want them to retain the shape that you cut the dough into.
Another tip for making sure the cookies don’t spread is ensuring that you make sure the oven is completely pre-heated before you put them in, as you want them to bake and set to the right temperature.
You should also make sure you’re not putting the cookies on a hot pan, as that will start melting the butter faster than the rest of the cookie can cook and leads to spreading.
How to Make Royal Icing
To learn how to make the royal icing to decorate the cookies with, check out my royal icing recipe.
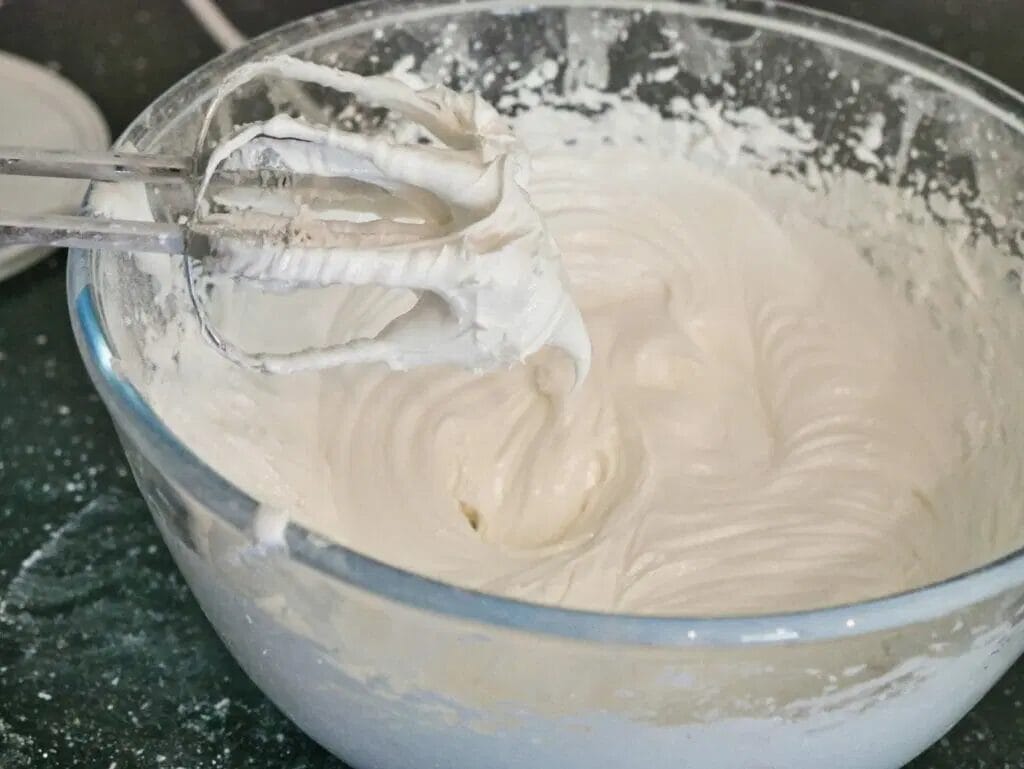
The thing about royal icing you should know is that it’s super easy to make and really the most annoying part is just having to keep the mixer going for 8 to 10 minutes until you get the medium to firm peaks that you need.
The final royal icing for the “outline” or “detail” icing should be the consistency of toothpaste – you don’t want it running off the cookie.
Then, the thinner version of the icing which is simply the outline icing with a bit of water added, is called the “flood” icing.
This is more like honey, so it’s not watery, but thin enough that it will spread around the cookie easily when you pipe it on the base.
You can find out more about royal icing consistencies with this visual guide.
Tips for Decorating with Royal Icing
Decorating these rocking horse cookies with royal icing involves mostly detailing, so you’ll want to make sure you have the correct consistency with the outline icing and give it a bit of practice if you’ve never done it before.
When you’re first starting the outline on the base, always remember that if you mess up, it’s super easy to just scrape the icing off and start again because it will be covered anyway.
Another super important tip about decorating these rocking horse cookies with royal icing is that you should pipe the icing on the cookie by holding the piping bag about an inch off the cookie, not right next to it.
This allows the string of icing to “fall” down into place as you guide it gently.
You’ll notice that if you get too close to the cookie, the outline will actually be more wobbly.
Can You Freeze Rocking Horse Cookies?
You can freeze the cookie dough for these cookies, as well as the completed cookie bases, but you shouldn’t freeze a completed rocking horse cookie as royal icing doesn’t freeze well and the design will get damaged.
Can You Refrigerate Rocking Horse Cookies?
Yes, you can refrigerate these cookies, but they are better at room temperature and you don’t need to refrigerate them so save the space in your fridge.
At room temperature, they can last for 2+ weeks, and the royal icing is made with meringue powder and not egg whites so there’s no concern about it going bad or off in a couple of days like royal icing made with egg whites.
How to Make Rocking Horse Cookies
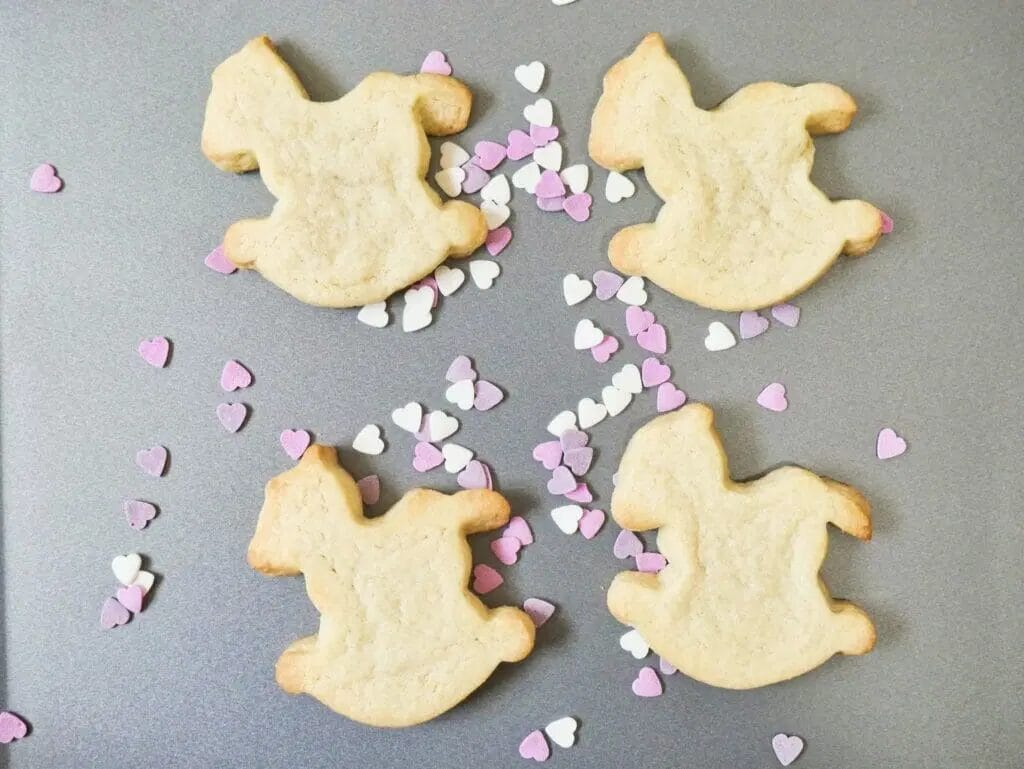
First you should make the cut-out sugar cookie recipe and cut out the shapes in rocking horses using a rocking horse cutter.
Let the cookies cool completely as you don’t want to ice a warm cookie.
While the cookies are cooling, prepare the royal icing base.
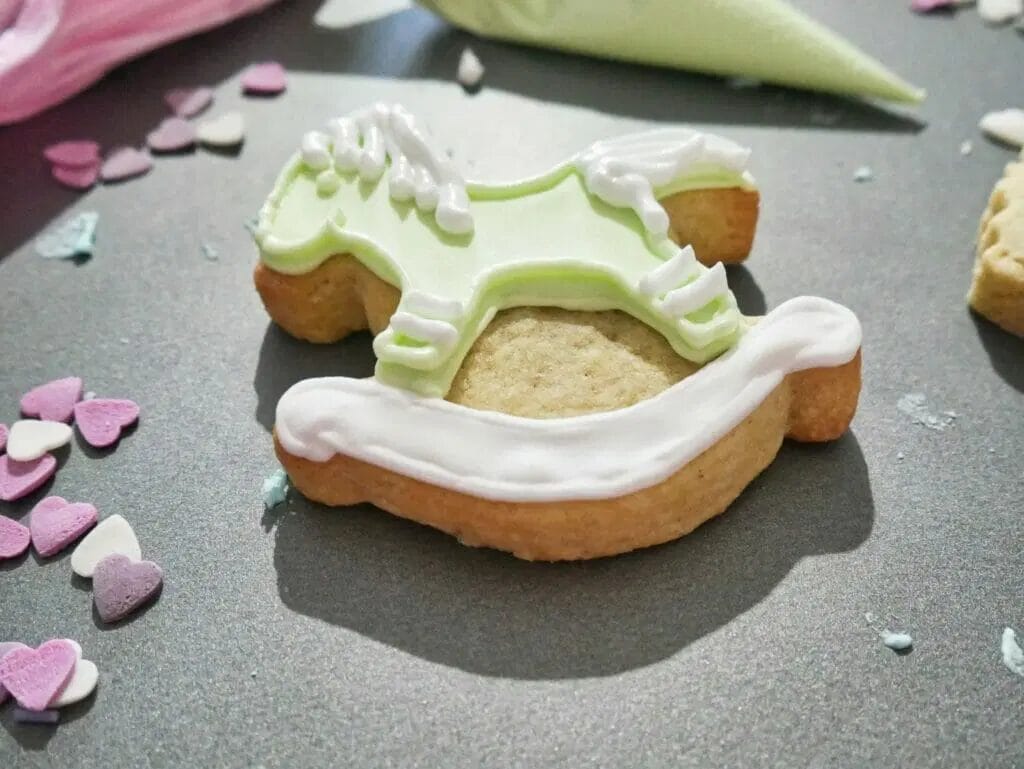
Make sure you have both “outline” icing and thinner “flood” icing, and choose the colors you want for your horses.
I recommend using a mix of 3 colors.
Start using more and it gets a bit chaotic and hard to make sure they look good.
When you’re ready to decorate, first start by outlining a rocking horse shape on the cookie using your outline icing.
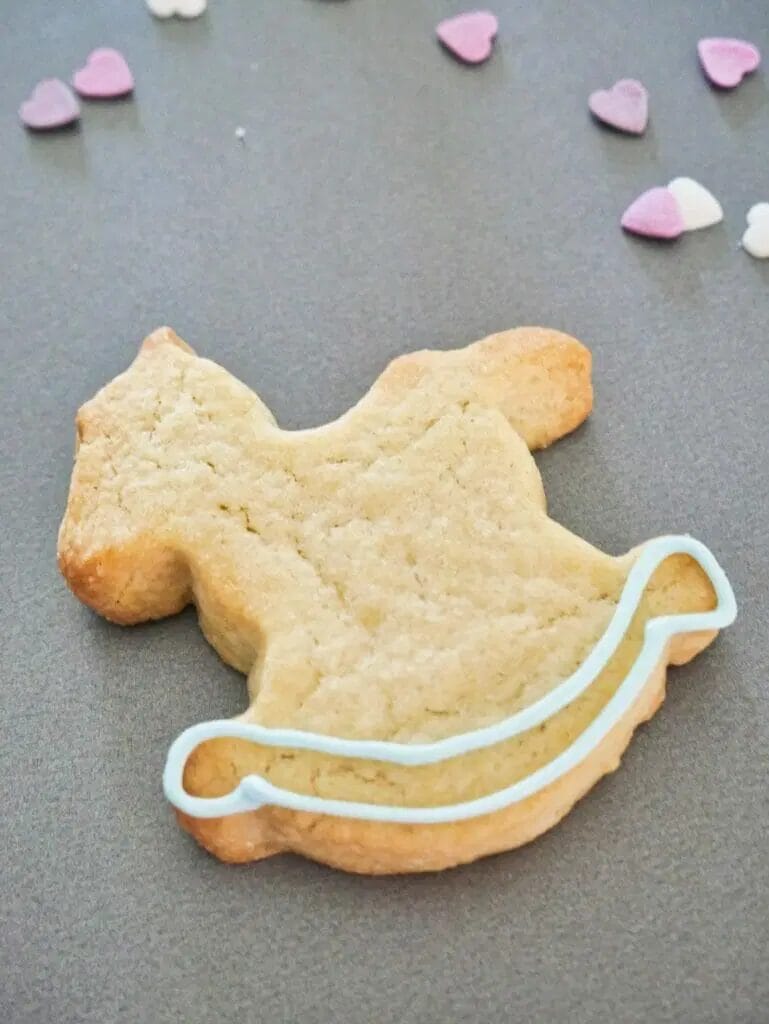
I start by outlining the bottom part in a different color, and then outlining the top part, making sure to leave a space for the gap in between the legs of the rocking horse.
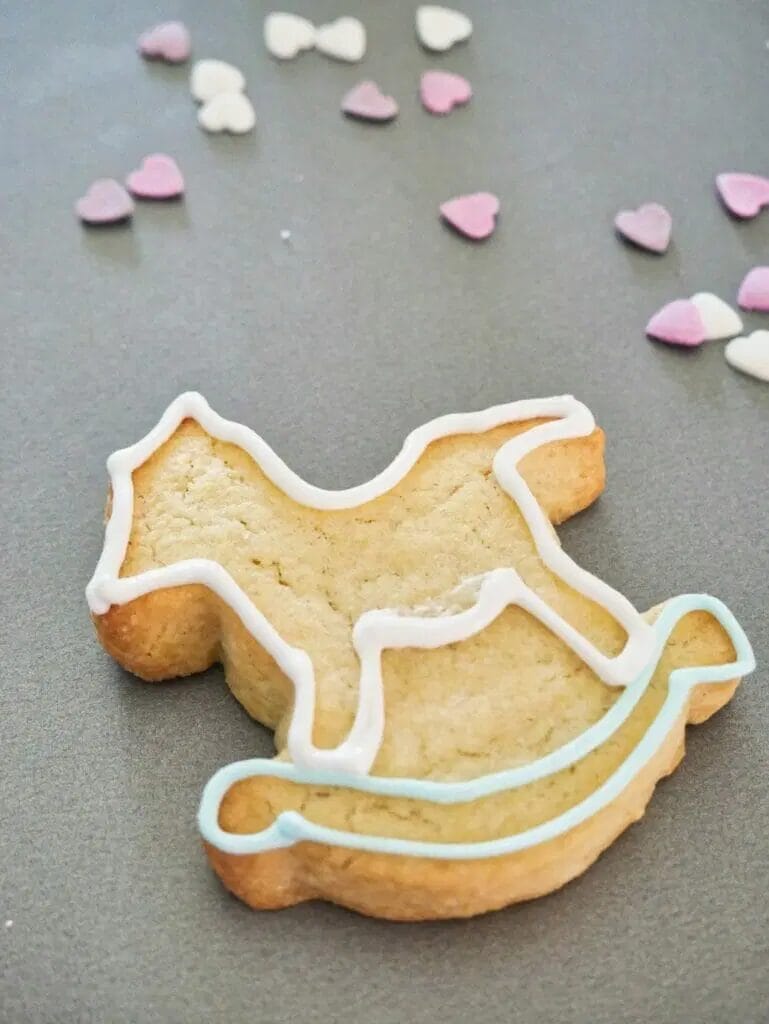
From there, “flood” both of the areas with the same color icing as the outline.

Let that dry for a couple of hours, and then you’re ready for detail.

For the bottom part, you can add dots, squiggles, stripes, or just leave it blank.
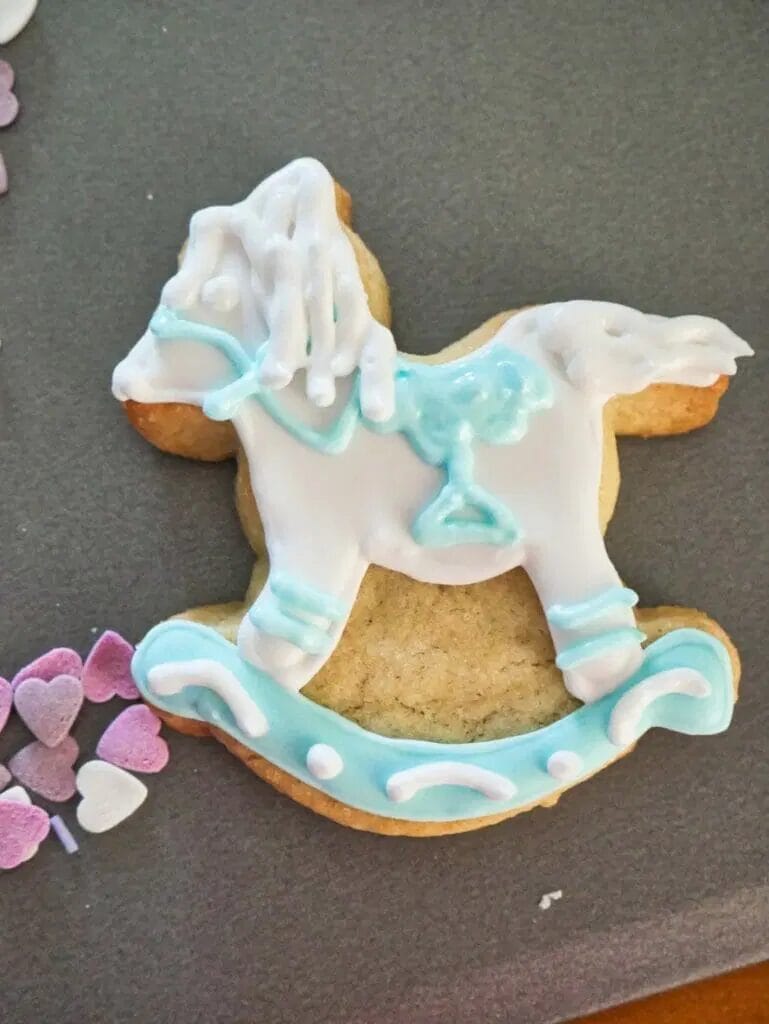
On the actual horse, I added a tail, an eye, a “mane”, and some stirrups.
Get creative!