As an Amazon Associate, I earn from qualifying purchases. In addition, I participate in several other affiliate programs that allow me to earn while I recommend products I love.
This classic royal icing recipe makes the perfect royal icing for decorating cookies that will dry with a smooth shine.
Royal icing is one of the more advanced types of icing, not because it’s hard to make, but because it’s often used for more intricately decorated cookies than something like buttercream which you can just slather on.
I use royal icing to decorate cookies like these flamingo cookies and these octopus cookies but the sky’s really the limit in how you can use it.
In this post, I’ll go over the easiest royal icing recipe I’ve ever found and will clear up some problems that I and others have had with royal icing so you can make sure yours turns out correct.

Should I Make Royal Icing with Egg Whites or Meringue Mix?
There are two options you have when making royal icing: you can use fresh egg whites or dried egg whites, or you can use meringue powder or something like Meri-White which is the same thing, meringue and royal icing mix.
I prefer to use meringue powder – learn more about working with meringue powder here.
Not only does this eliminate any questions you may have about food safety or the raw eggs being a problem for pregnant women or anyone else who could be consuming your cookies, but it’s just easier for me to keep dried meringue mix on hand, and you can also store it at room temperature once mixed up so no need to worry about making room in the fridge.
Can You Refrigerate Royal Icing?
Yes, you can refrigerate fresh royal icing for up to 3 days if you’re used egg whites, but you don’t need to refrigerate it if you’re using meringue mix.
However, it’s possible that it will take on a bit of a different structure and color in the fridge, so when you take it back out again, make sure to give it a stir.
You should also make sure it’s in an airtight container or piping bags with the tips covered when doing this.
Can You Freeze Royal Icing?
Yes!
You actually can freeze royal icing for up to a month in freezer bags with the air pushed out.
This is handy if you’re preparing for a future event and won’t have time to make the icing at that point.
That being said, I much prefer working with and using fresh royal icing, and the recipe is really quick to whip up so don’t be put off by it.
How Long Does Royal Icing Take to Dry?
Once you ice the cookies, the royal icing will start to harden after just a minute or so, but it fully dries in about 8 hours.
Tips for Creating Royal Icing
One of the hardest things when it comes to making royal icing is being patient as you’re mixing it.
Even once it looks fully done, you still need to keep beating it until you get the right consistency, which is a firm or stiff peak.
A firm or stiff peak will basically mean that when you pull the beaters up from the mixture, the icing attached to it still stay in a peak and not immediately drip off.
There may be a fold at the tip of the peak, but overall you’re going for a stiff structure like toothpaste.
This is going to mean that you don’t have icing dripping all over your cookies.
Another way I like to check is that if you turn the bowl upside down and you’ve made royal icing with stiff peaks, nothing will drip out (but don’t do this until you’re pretty sure you’re on the mark!)
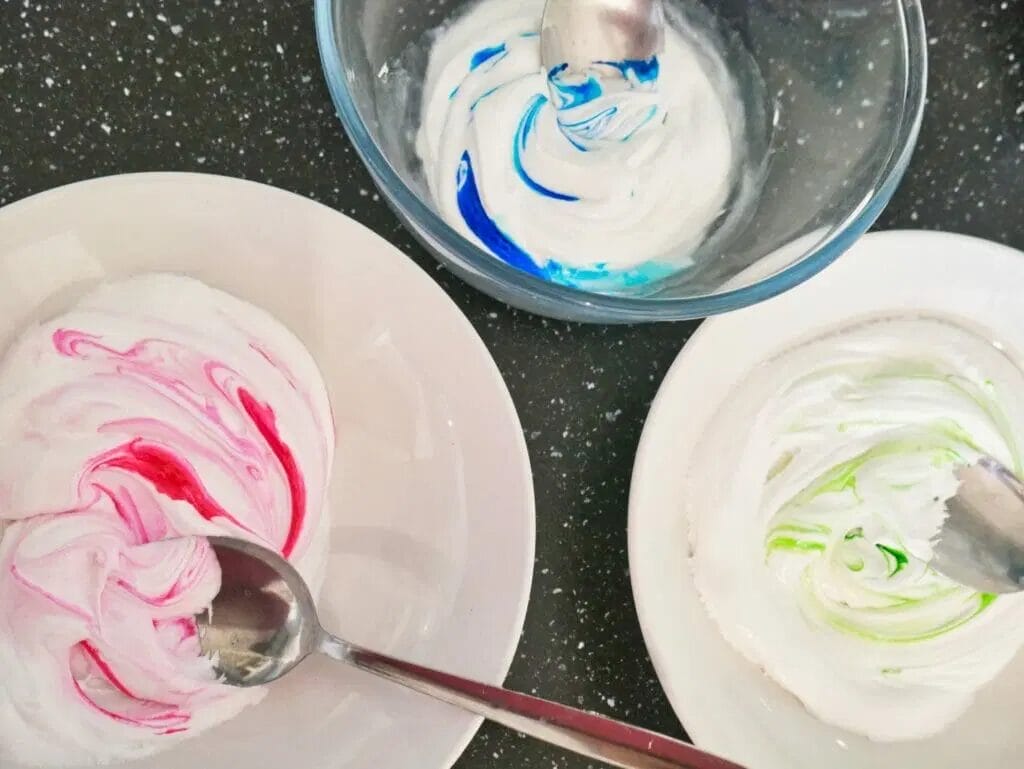
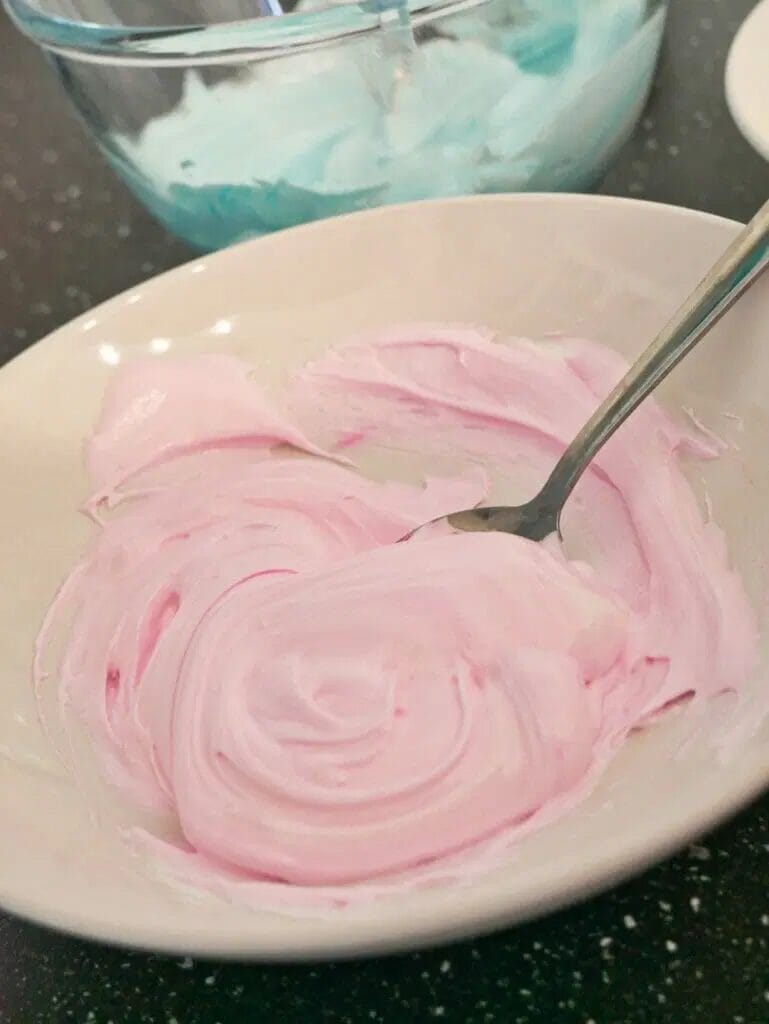
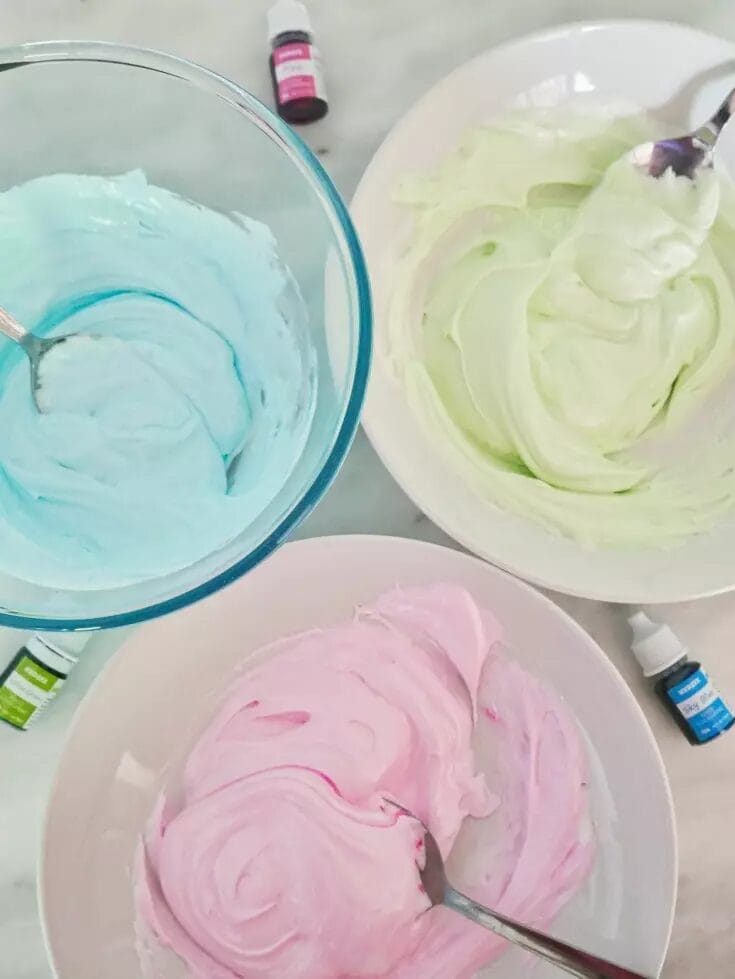
There are two “kinds” of royal icing that you need to make, the “line” and the “flood.”
The “line” is used for outlining and detail work, and the “flood” which is for creating the “background” on the cookie or doing the major layer inside the outline you create.

The flood needs to be runnier than the line mix, which can easily be done by adding just a touch of water to the mixture after you’ve separated your mixture into two separate bowls.

Add water slowly, don’t add too much at once.
You want your “flood” icing to be a bit like honey – not too runny, but able to easily spread across the cookie.
Ingredients for Royal Icing
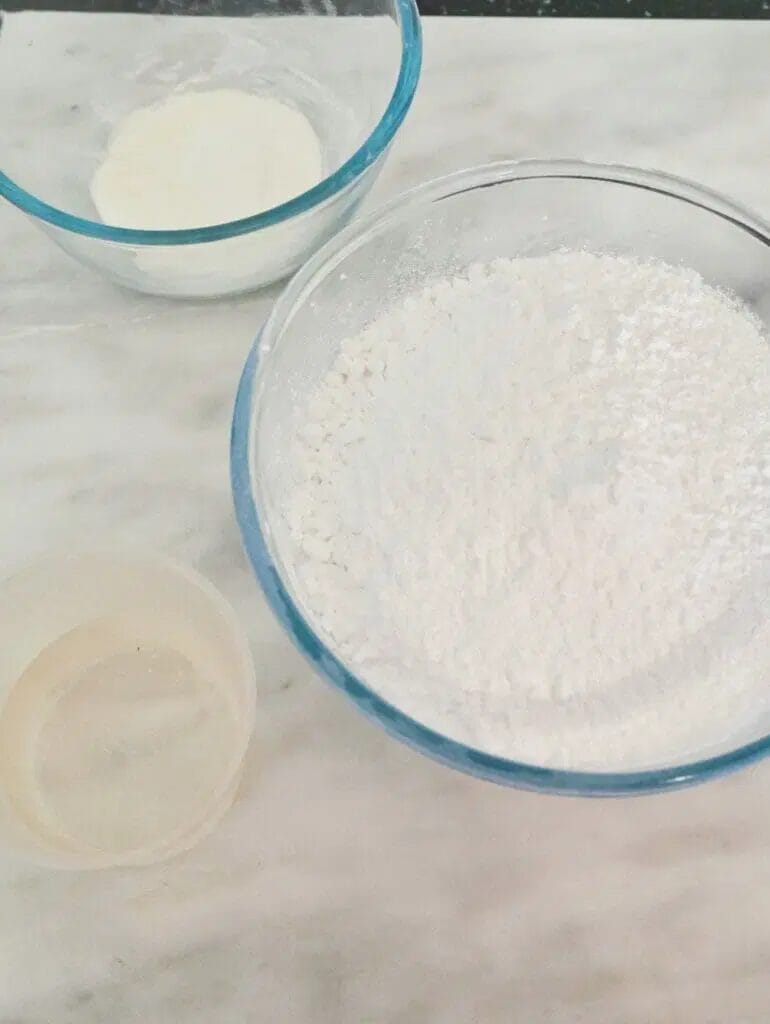
For the royal icing recipe I use, as found on the side of the Ingram Brothers Meri-White mix, you only need the meringue powder, cold water, and powdered sugar/confectioners sugar.
How to Make Easy Royal Icing
The steps to making royal icing are super simple and just require you to spend quite a long time beating the mixture.
First, dissolve the meringue powder into the cold water in a glass or grease-free large bowl.
Either use a handheld mixer or a stand beater to beat the mixture, gradually adding in the icing sugar.

You’ll want to beat at a slow speed continuously until the firm or stiff peak is obtained.
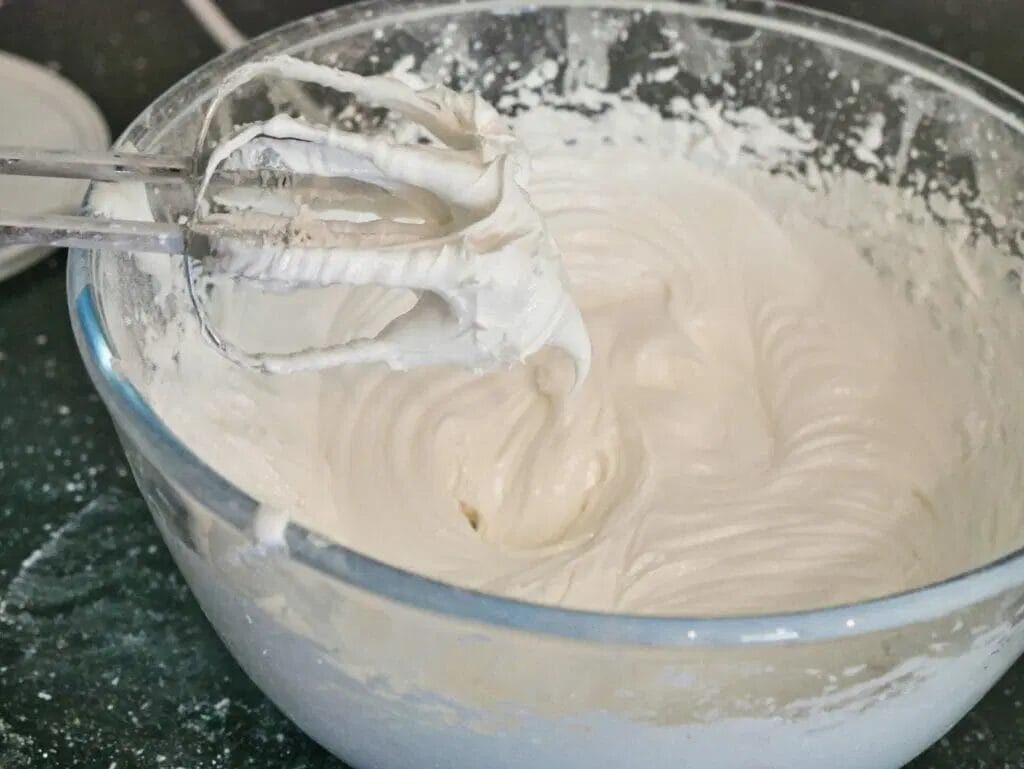
This can take a good 8 to 10 minutes, so make sure you’re not stopping too early and ending up with icing that is going to drip off your cookie.
Once you’re happy that this is the right stiffness of icing (again, it should resemble your thicker, “line” icing at this point,” you can then separate it out into separate bowls and add color or add water to some to become your “flood icing.”
This recipe makes quite a bit of icing, enough to ice maybe 5 dozen cookies.
Adjust the recipe if you have fewer or want to see how you go.
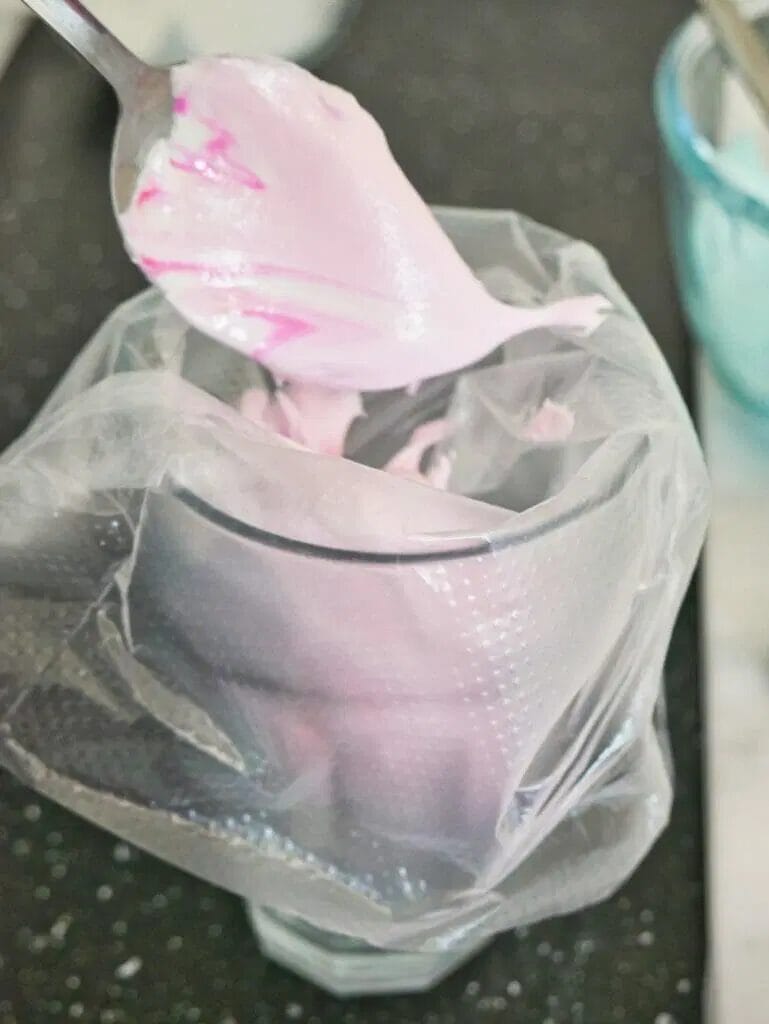
To put royal icing into piping bags, put the piping bag in a glass and pull it over the sides of the glass.
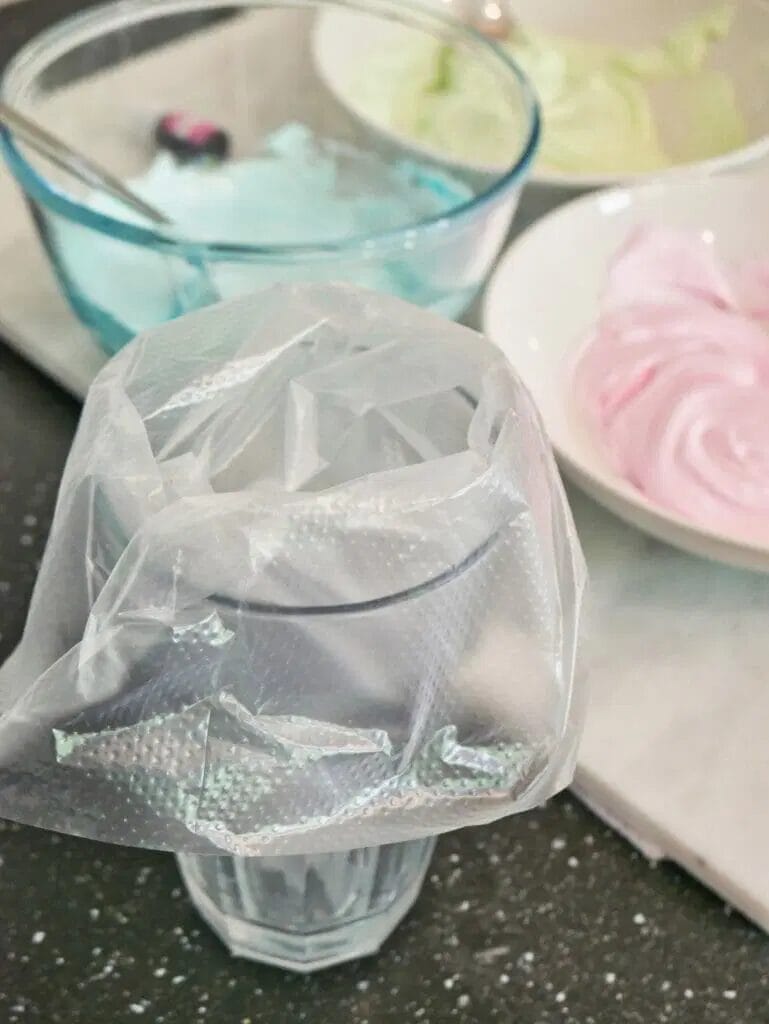
Put the icing in the bag, pull it out and tie it up, and there you go!