
As an Amazon Associate, I earn from qualifying purchases. In addition, I participate in several other affiliate programs that allow me to earn while I recommend products I love.
These frog cookies are super cute and whimsical, perfect for a kid’s birthday party or just to hand out around the neighborhood. The sugar cookie base and icing are also delicious, so they taste as good as they look!
These frog cookies do require a moderate amount of experience with royal icing, but nothing that you can’t figure out if you follow the instructions.
You just need to be patient as some of the sections need to be done separately to retain the lines within the cookie and not have it all blend together.
In this tutorial for frog shaped cookies, I’m going to walk you step by step through what you will need, how to make them, and how to decorate these frog sugar cookies.
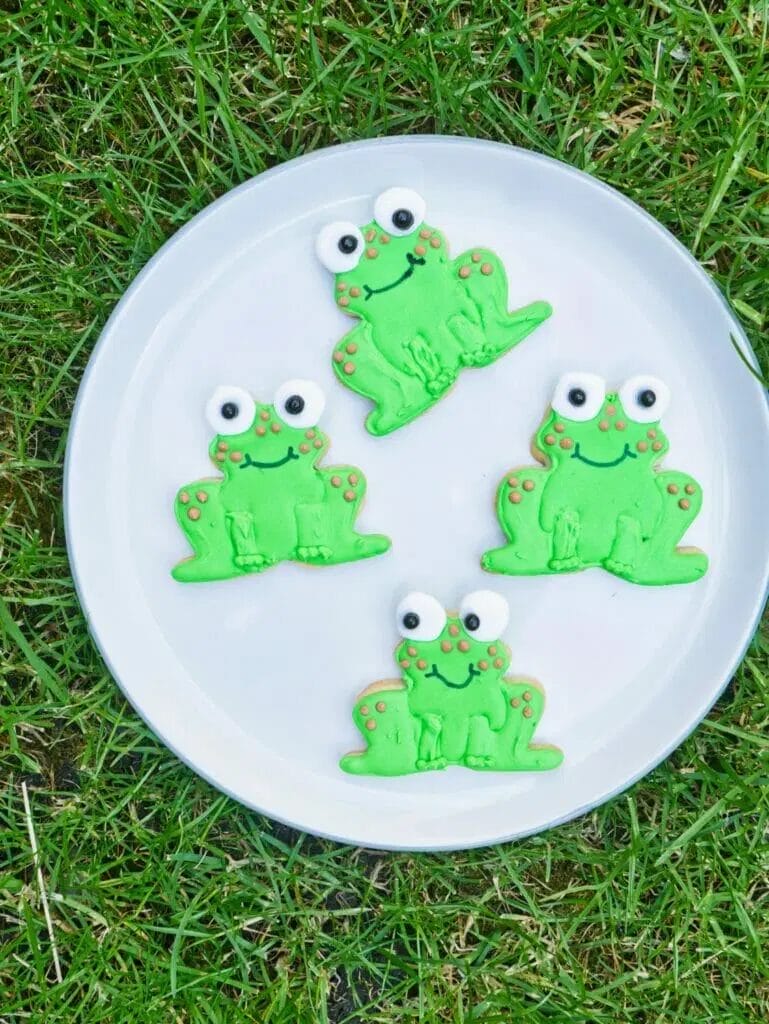
These frog cookies are:
- fun and colorful
- delicious and not crumbly
- a great treat for animal themed birthday parties
What You’ll Need to Make Decorated Frog Cookies
To make frog cookies, you’ll need the ingredients for the royal icing recipe as well as the cut-out sugar cookie bases, as well as the decorating tools.
I use the same sugar cookie bases for all of my decorated cookies, so you’ll want to follow the ingredients list you can find in this sugar cookie base recipe.
You’ll also need royal icing, which is made with powdered sugar, meringue powder, water, and vanilla extract.
You can find the royal icing recipe here.
As for the tools and colors you’ll need, I recommend:
- green food coloring – gel food coloring like this is better than liquid food coloring
- brown food coloring
- black or silver “edible pearls” for the eyes – I like these
- piping bags – these are the best brands
- edible black marker – this is the best one
- a scribe or toothpick – I love these scribes
- frog cookie cutter – find them here
Can I Make These Ahead of Time?
Yes, you can make frog cookies ahead of time!
They will last at room temperature in an airtight container for a couple of weeks, so you can fully make and decorate them in advance.
If you want to freeze them, you can for a couple of months, but this should be before decorating as the royal icing won’t freeze well and you risk your designs getting ruined.
How to Make Frog Cookies
A good frog shaped cookie starts with the perfect base, and you can do that by making the cut-out sugar cookie recipe.
This recipe ensures that you don’t get spreading of your cookies so the edges stay nice and defined, and while it does take a bit of extra effort to chill the dough, you won’t regret it when you don’t end up with frog blobs instead of cookies.
I like to put these cookies in for about 8 minutes, pulling them out right when they start to brown on the edges.
If you take cookies out when they look done in the oven, you risk them being way overdone by the time they harden and cool.
The baking process doesn’t stop the second you pull them out of the oven, so err on the side of a bit less done and let them cool into the soft, wonderful cookies they are!
Make sure to let your cookies cool completely before icing, as there’s nothing worse than trying to ice a warm cookie and it won’t work.
How to Make Royal Icing for Frog Cookies
The icing is the most important step in making frog cookies, as it’s what actually creates the frog and can cover any imperfections on the base of the cookie.
I have a great royal icing recipe that you can follow, and for this one, you don’t need to create two different consistencies.
Simply create one batch of royal icing, a 10-12 second consistency, and you can use it for both flooding and decorating.
If you’re new to decorating with royal icing, you should know that a 10-12 second consistency means that if you run a knife through the icing, it takes 10-12 seconds for the line it made to disappear.
You can have shorter or longer times, with shorter times being runnier icing and longer times being thicker icing, but I find a 10-12 second one works well for these cookies.
Once you have your batch ready, separate it into other bowls to add in your food coloring and then get it in your piping bags ready to decorate.
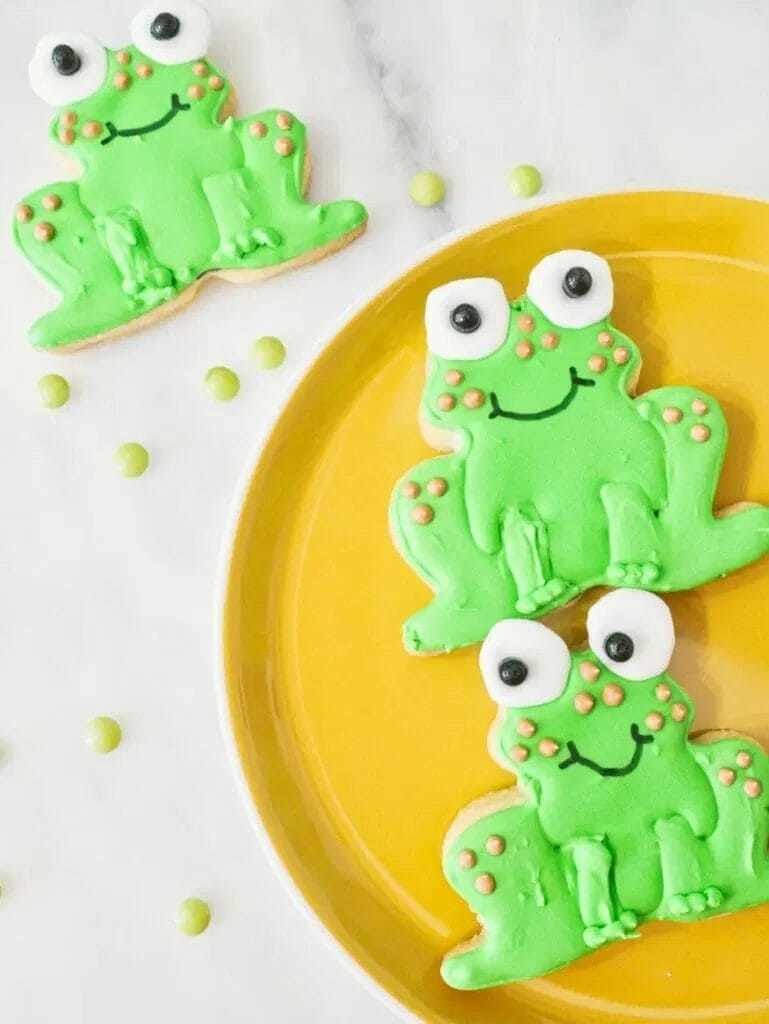
How to Decorate Frog Sugar Cookies with Royal Icing
Alright, now on to the decorating!
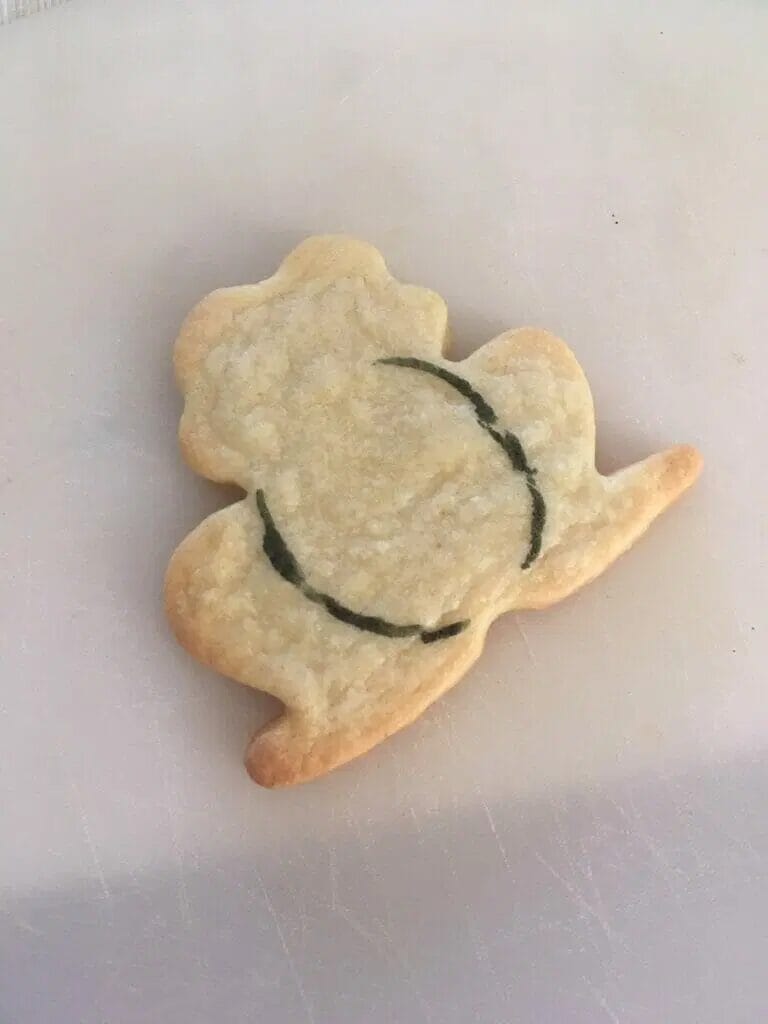
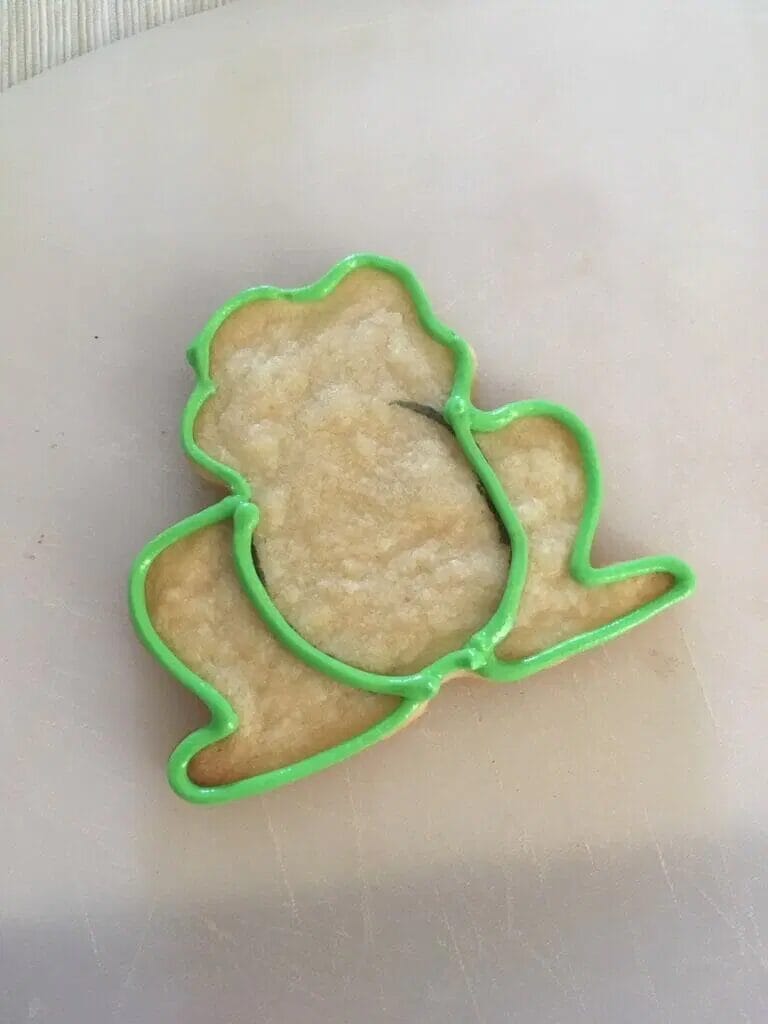
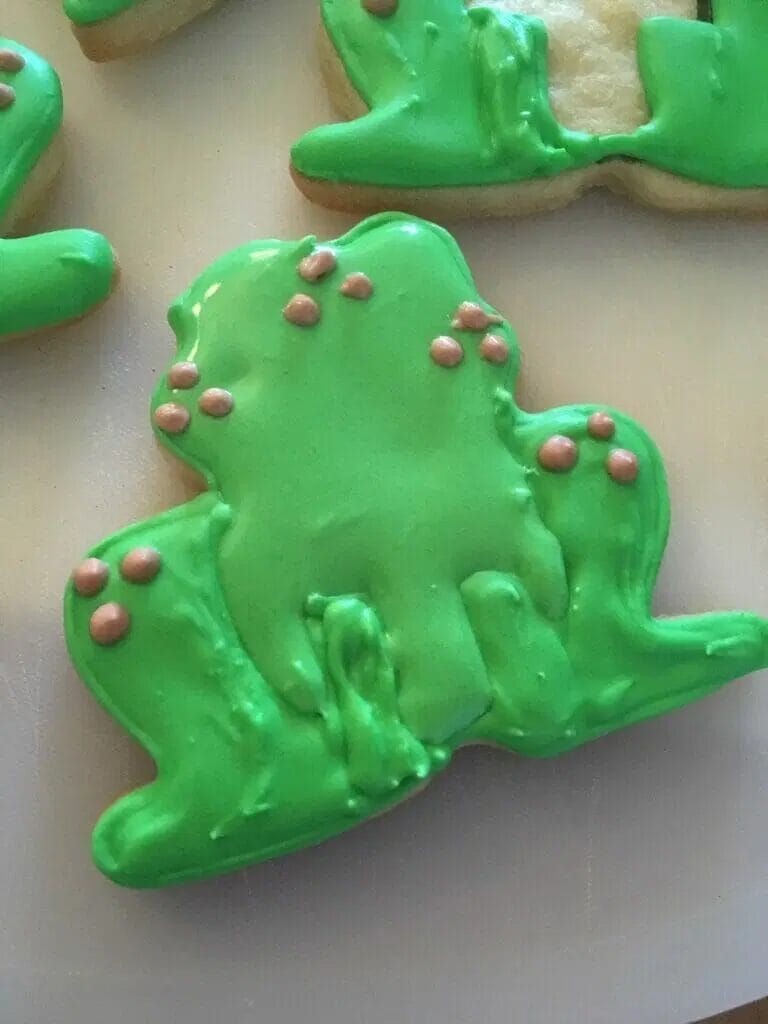
The first thing you’re going to do is to outline the frog by outlining the entire exterior and adding in lines to separate his legs from the rest of his body.
Then, draw two legs which are rectangles at the bottom of the frog.
Immediately fill in one leg and both legs with green icing.
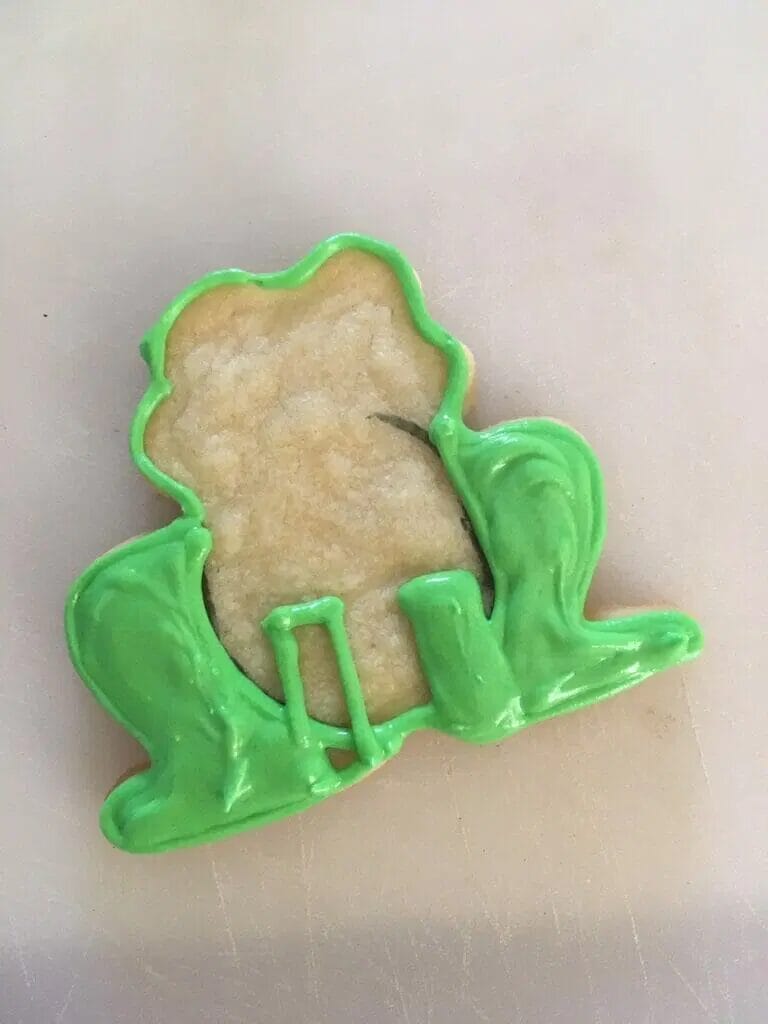
Using brown icing while the green is still wet, put 3 dots on each leg.

Let this dry for a good 30 minutes or so.
Next, fill in the other leg and let dry for 30 minutes or so.
Then, it’s time to fill in the body with green icing.
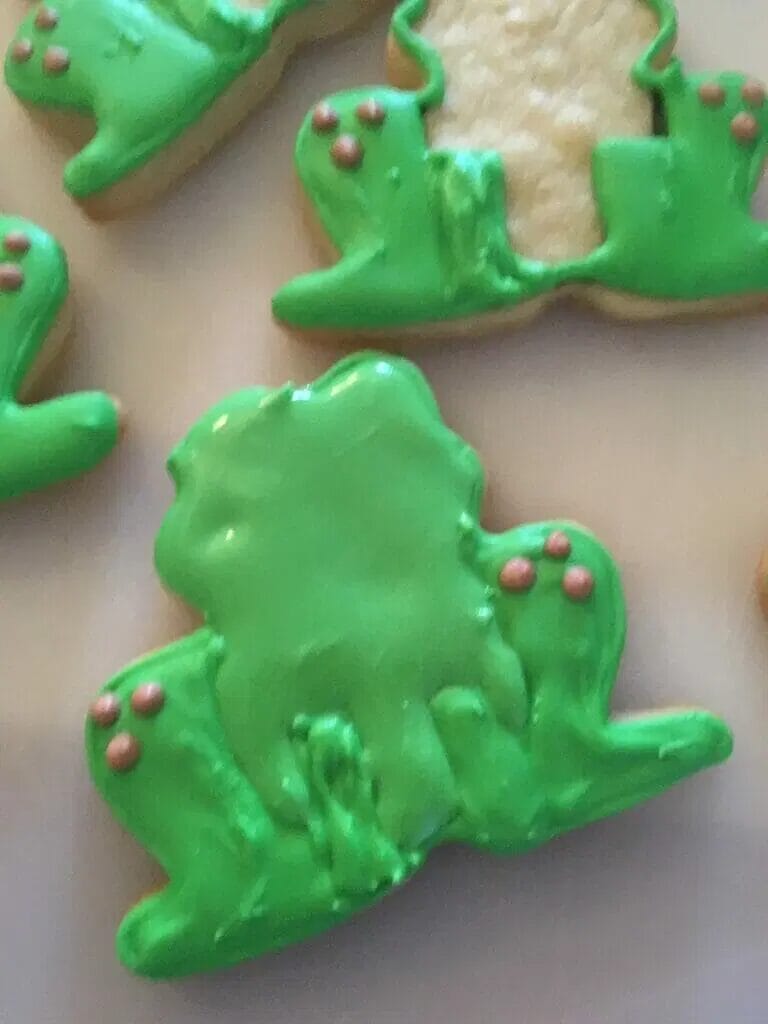
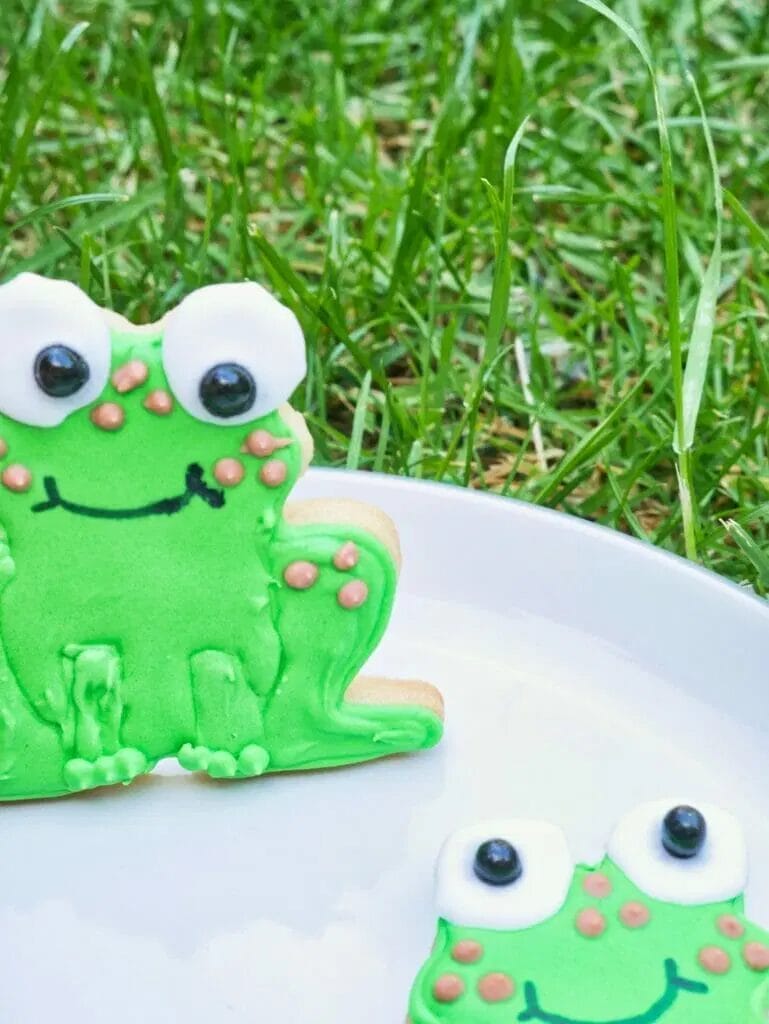
Give it a shake to let the icing settle, and, while wet, add more brown dots in between where the eyes will go and to the side next to the cheeks.
While wet, you can add the royal icing eyes and then you want to let everything dry for at least a couple of hours, if not more.
Once you’re sure the base is dried, use a food marker to draw on a smile.
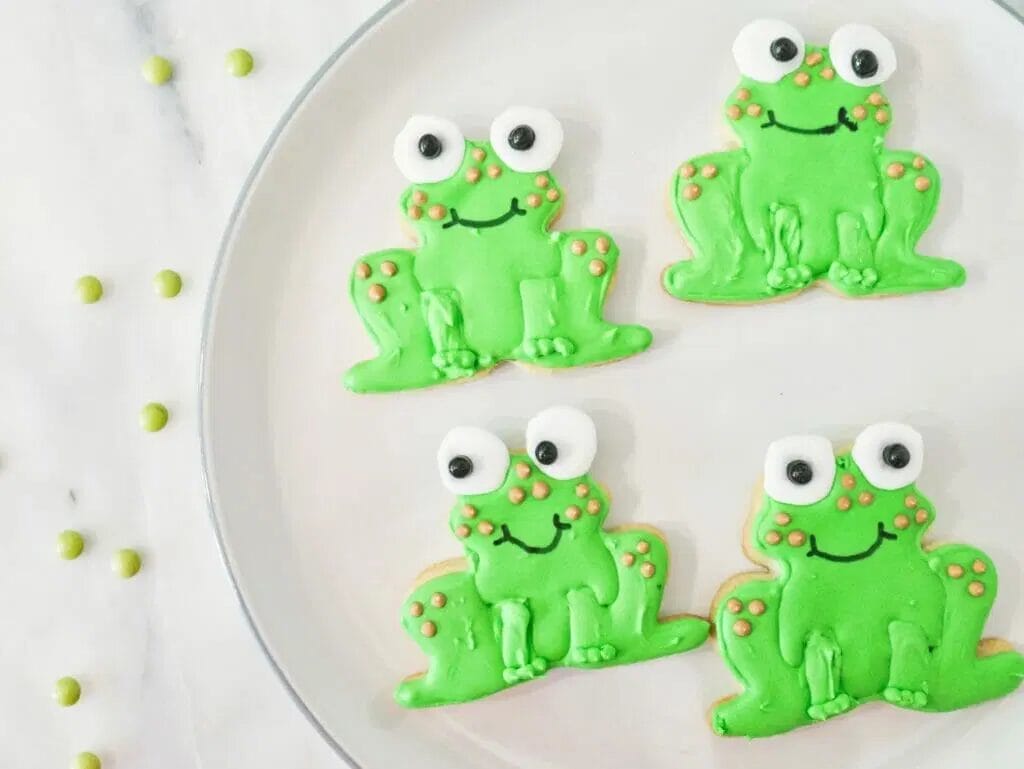
You really want to make sure you are patient with this, as if the icing is still drying, you will push through the top coat with your marker. Patience is key with this one!