
As an Amazon Associate, I earn from qualifying purchases. In addition, I participate in several other affiliate programs that allow me to earn while I recommend products I love.
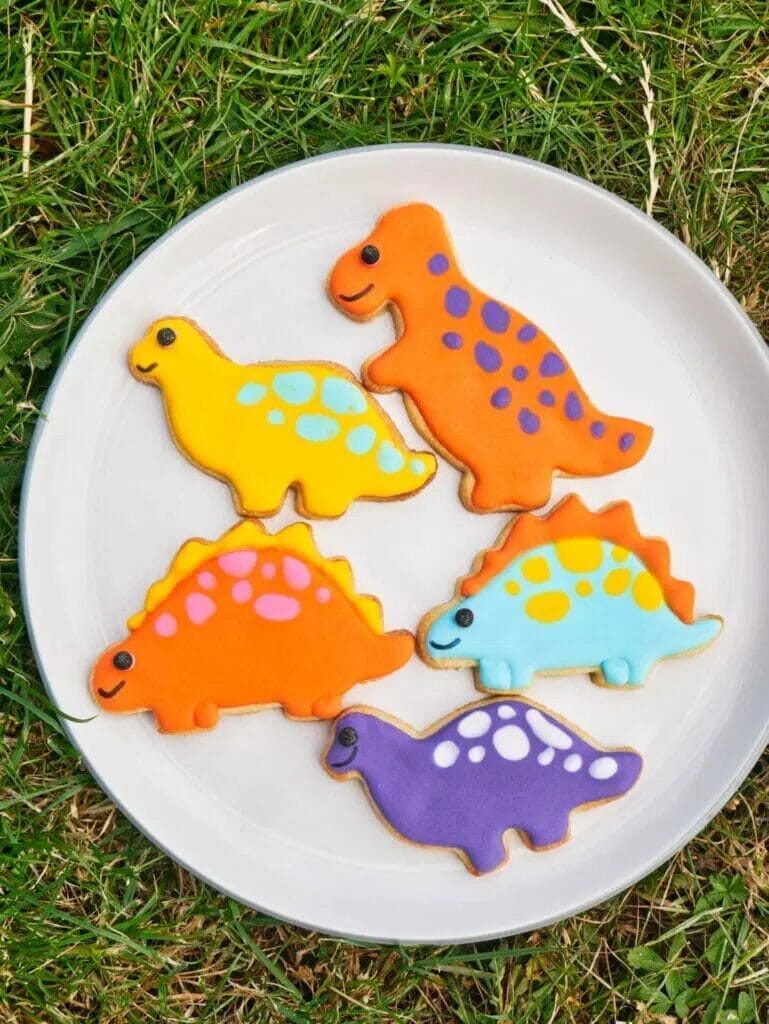
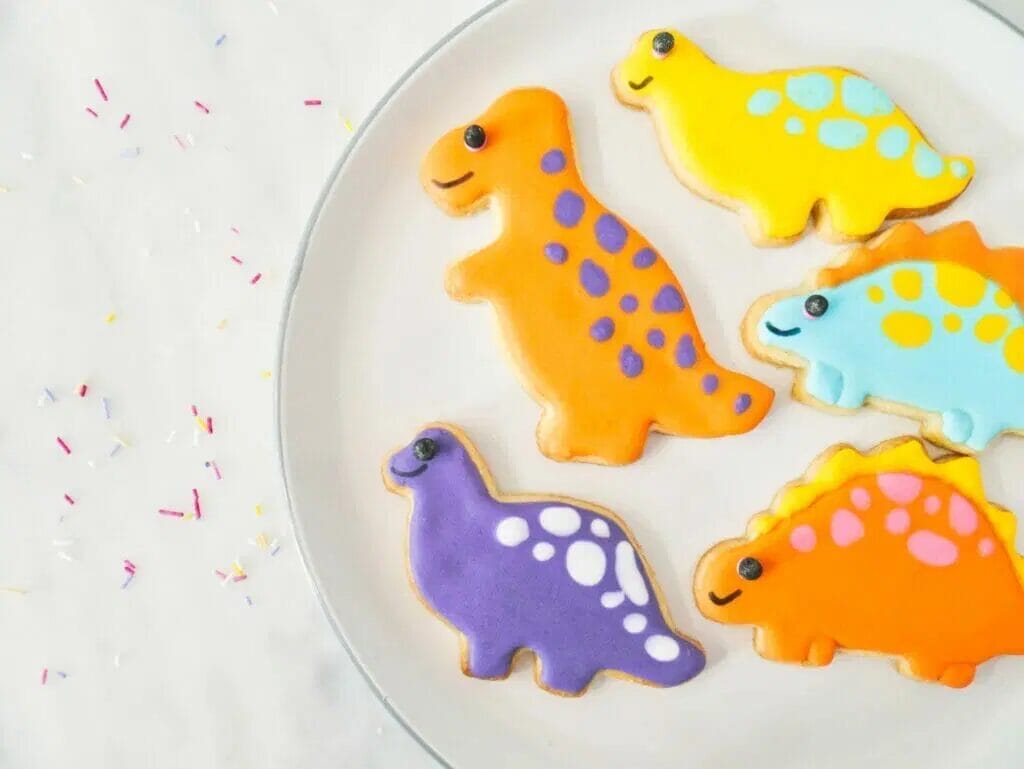
These decorated dinosaur cookies are absolutely adorable, and easy to make with sugar cookie dough and royal icing.
Whether you’ve got a dinosaur themed birthday party coming up or you’re searching for gifts for your favorite dino lover, these dinosaur cookies are whimsical and fun to make.
You can make T Rex cookies, brontosaurus cookies, stegosaurus cookies and so much more.
I used dinosaur cookie cutters, but you can also hand cut these using a paper template and a knife.
Made with cut-out sugar cookie dough and royal icing, this dinosaur cookie tutorial is easy to follow and accessible to all!
What You’ll Need
To make these cookies, you’ll need to gather the ingredients for the cut-out sugar cookie recipe and the royal icing recipe.
Follow the recipes for exact amounts, but know that this includes: powdered sugar, sugar, plain flour, baking powder, meringue powder, water, butter, vanilla extract, eggs, and salt.
Tools for the Dinosaur Cookies
To make dinosaur cookies, you’ll want the following tools:
- dinosaur cookie cutters – I love these ones
- piping bags – these are the best
- food coloring – use gel food coloring instead of liquid when working with icing
- scribe or toothpick for details – I use this one
- edible pearl for eyes, if wanted – like these
What Dough Should You Use?
To make the actual dinosaur cookies, follow the cut-out sugar cookie recipe which includes all of the instructions on how to make cookies that don’t spread in the oven.
You can use any type of cut-out cookie recipe, and there are quite a few, including cut-out gluten free cookies, cut-out chocolate cookies, cut-out gingerbread cookies, etc.
I prefer to use the sugar cookie recipe because I feel the royal icing goes well with it, but you can get creative.
When you make the recipe, be sure to follow all instructions about chilling the dough and the exact amounts for the ingredients.
You don’t want to be off on your measurements, as this can impact how the dough reacts in the oven and you could end up with messy, blobby cookies instead of dinosaurs.
When you first take the cookies out of the oven, they may be incredibly soft, but you left them sit on the baking tray and they’ll firm up in no time.
How to Make Royal Icing and Tips
Royal icing is the icing of choice for these cookies because it dries hard and is the best icing for doing intricate decorations.
You can follow the royal icing recipe.
It’s easier than you think, so don’t be intimidated by the use of piping bags and put aside a few minutes to practice.
One thing to remember is that you shouldn’t hold the tip of the piping bag right on the cookie – hold it a bit above, and let the icing “drip” down onto the cookie, in a controlled way, as this will give you a smoother line and more control.
How to Store and Freeze
You can store the dinosaur cookies at room temperature in an airtight container, as the use of meringue powder means you don’t have to put them in the fridge.
If you do want to freeze the cookies, do it in separate parts so freeze the bases and the icing separately (freezing the icing in piping bags) instead of freezing the whole cookie as one.
When you freeze and thaw the entire cookie, you can have issues where your icing colors mix or you damage the decorations.
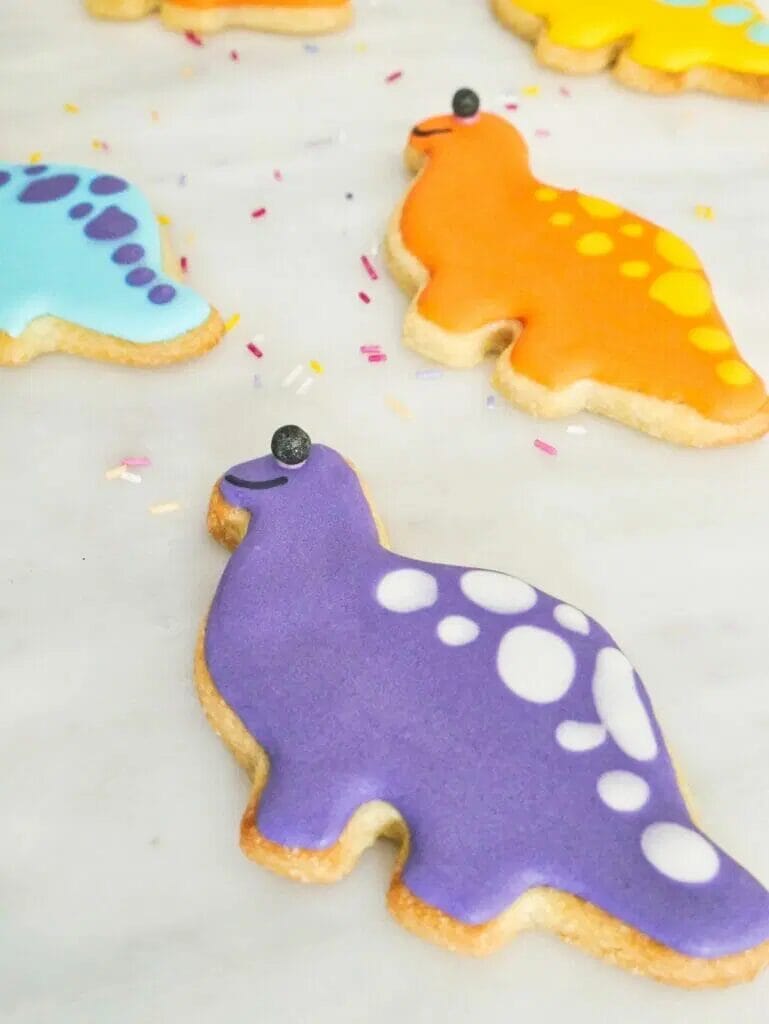
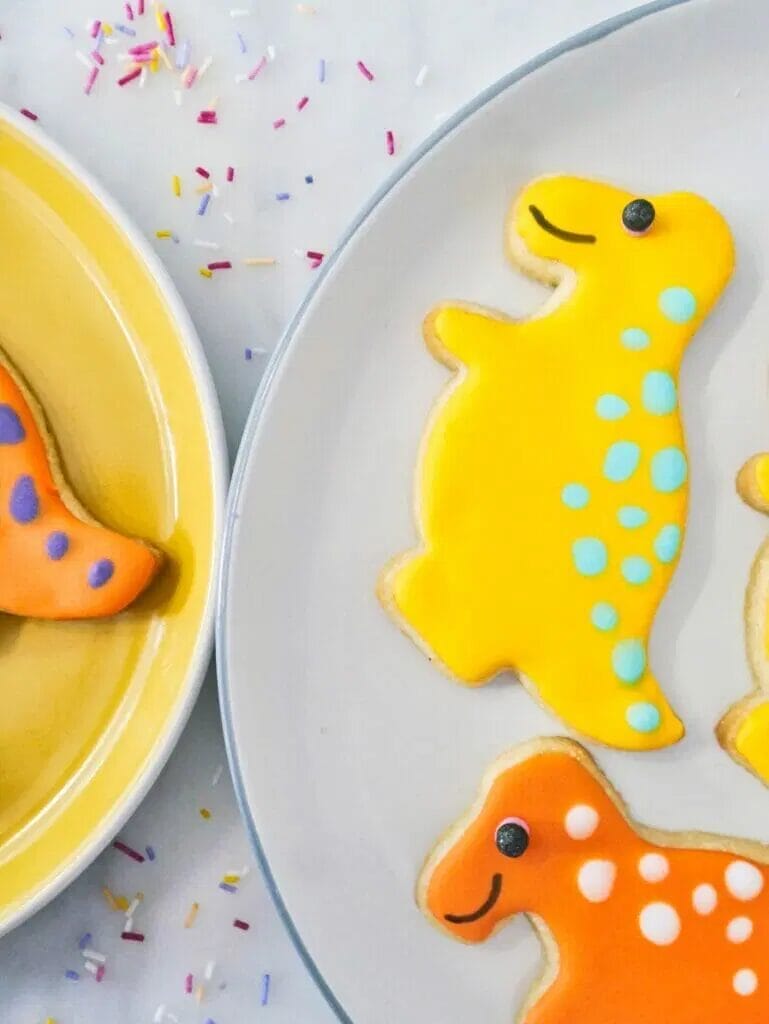
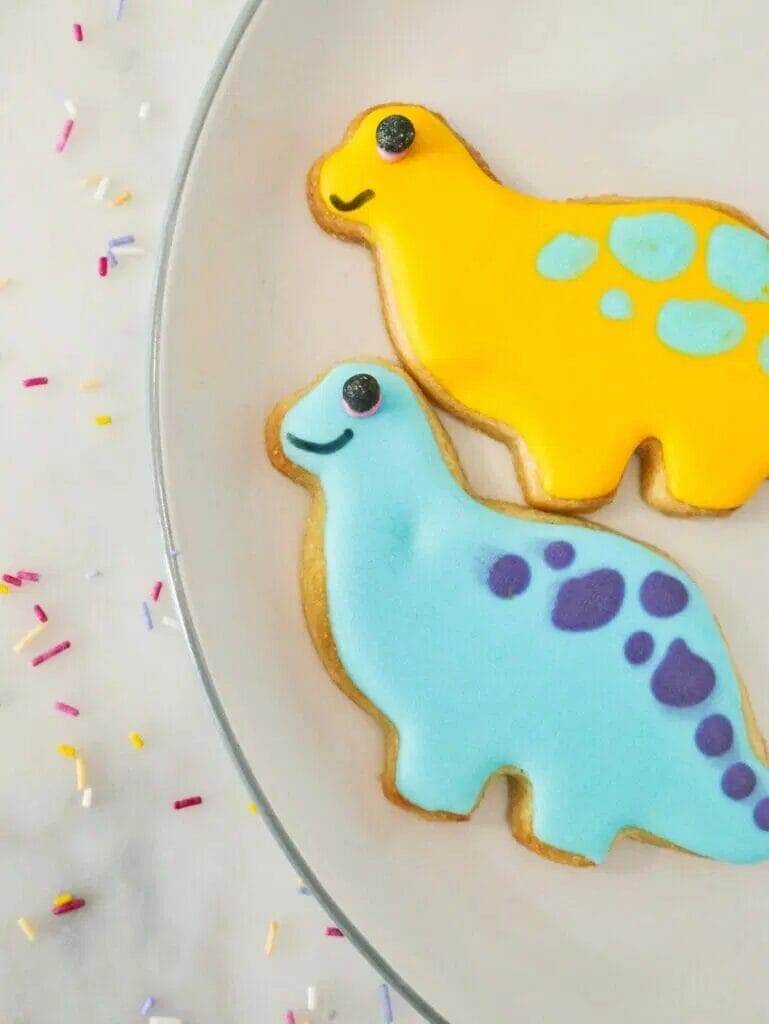
How to Decorate Dinosaur Cookies
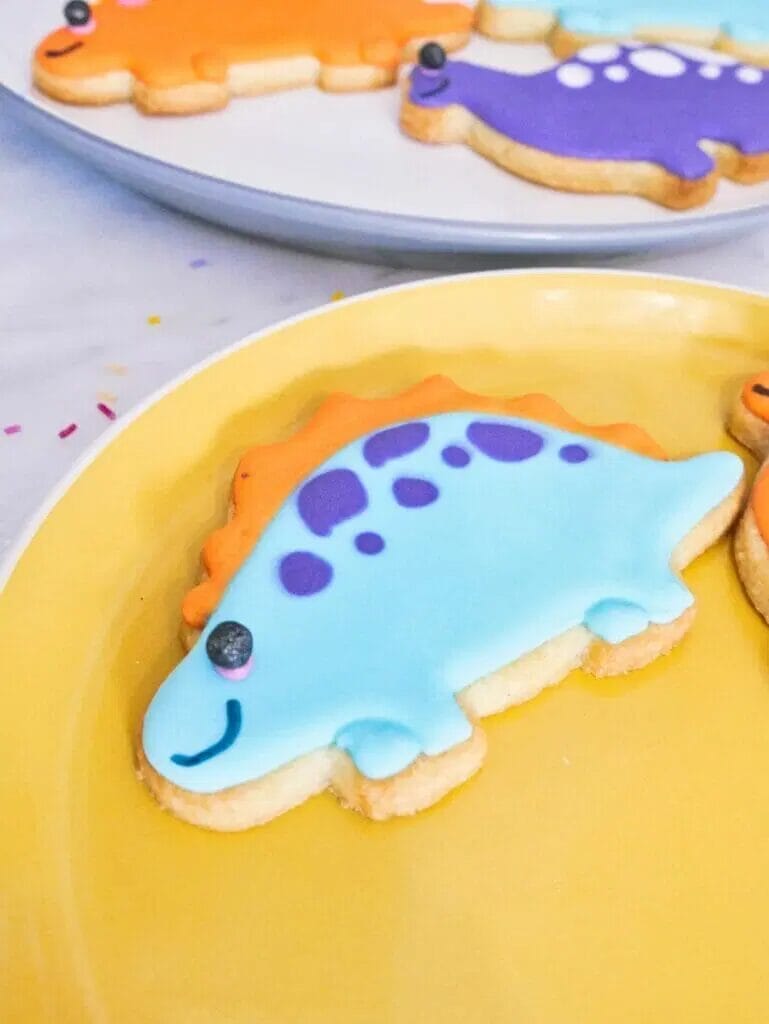
To decorate these whimsical dinosaur cookies, outline the entire cookie in one color, and then immediately flood with the same color.
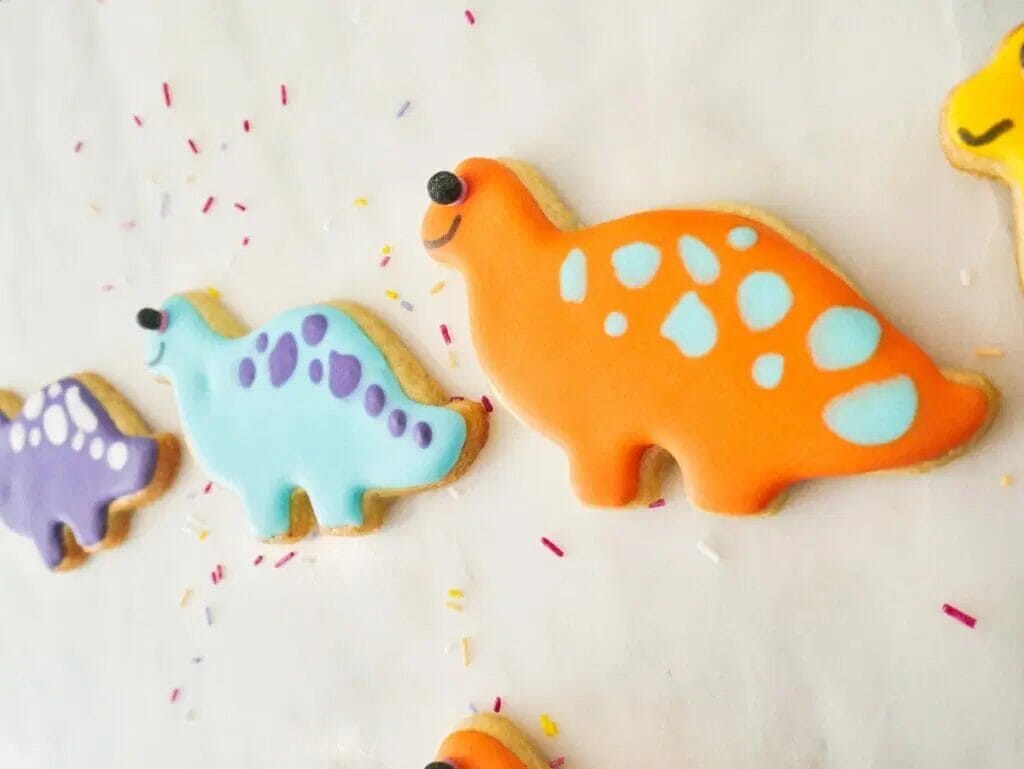
I used polka dots with the wet-on-wet technique, as well as using different colors for the scales, which requires you to outline and flood one section and wait 30 minutes and then outline and flood the next section.
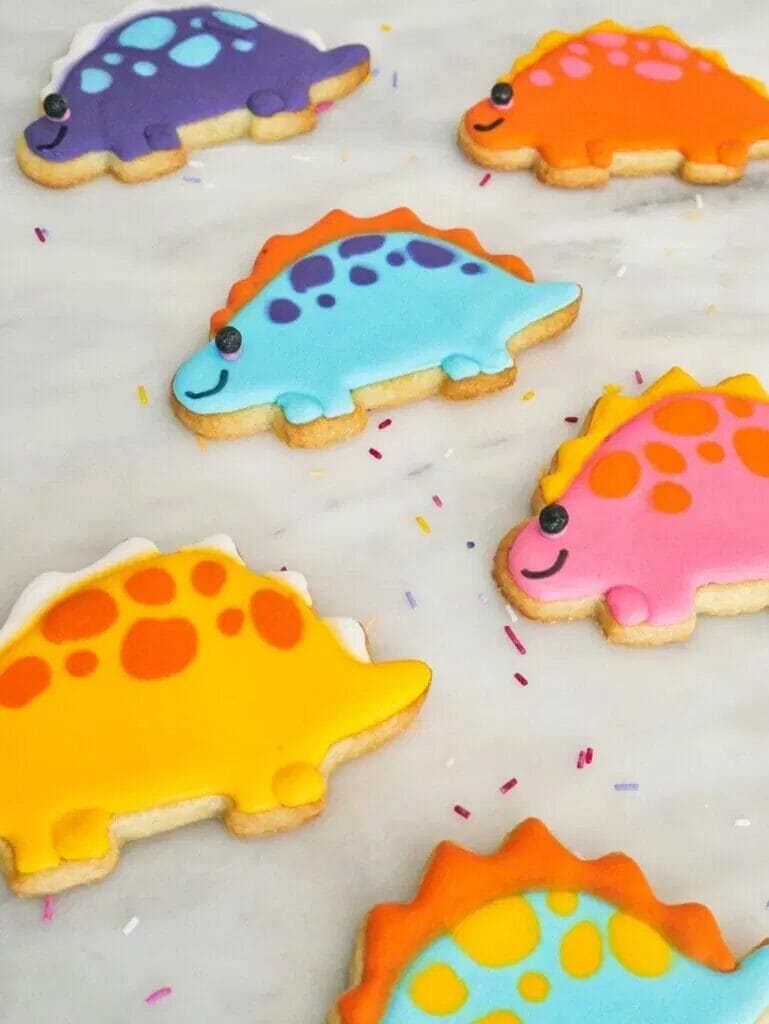
Finish by putting on an edible pearl for an eye, or use a dot of black icing.
