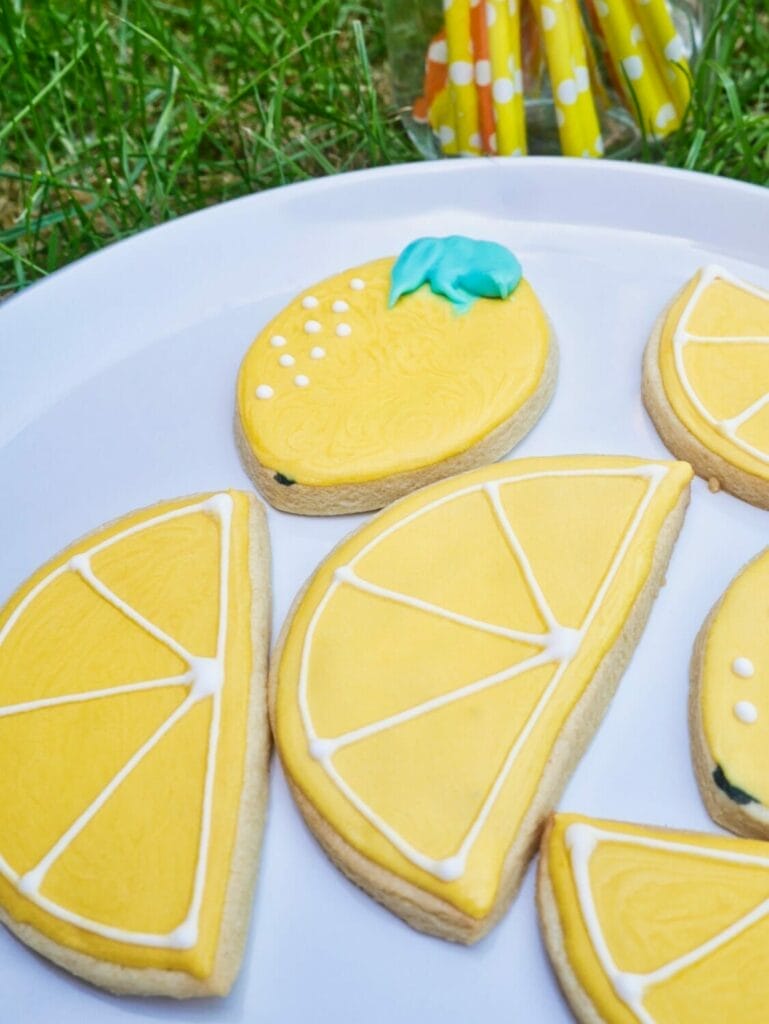
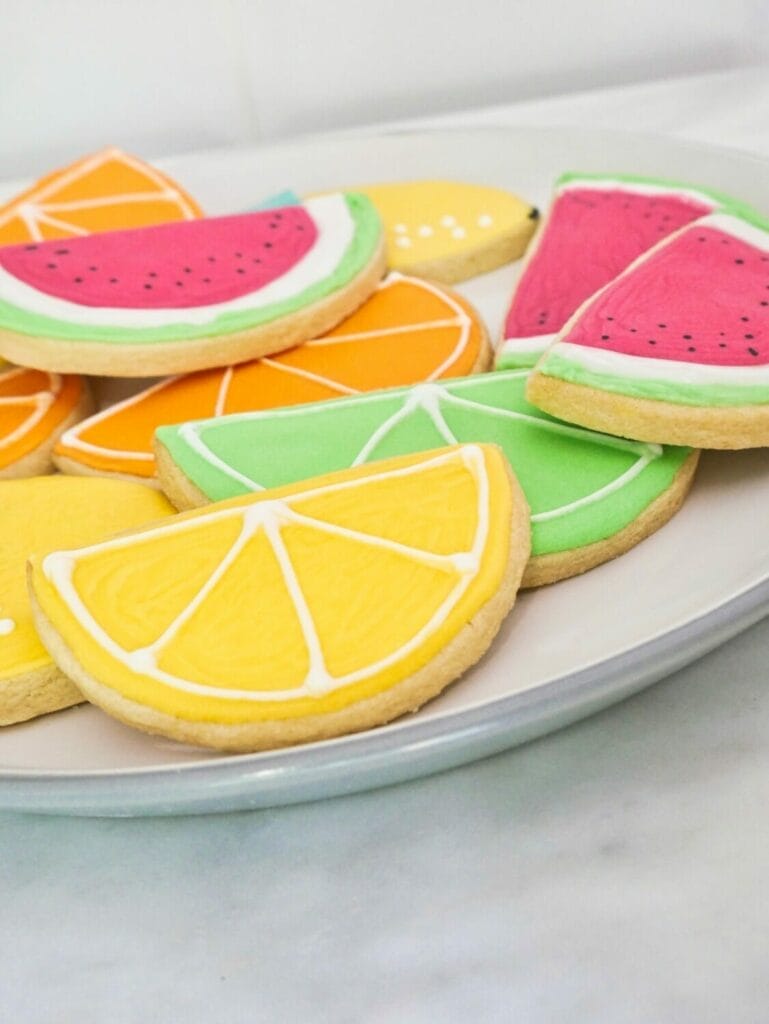
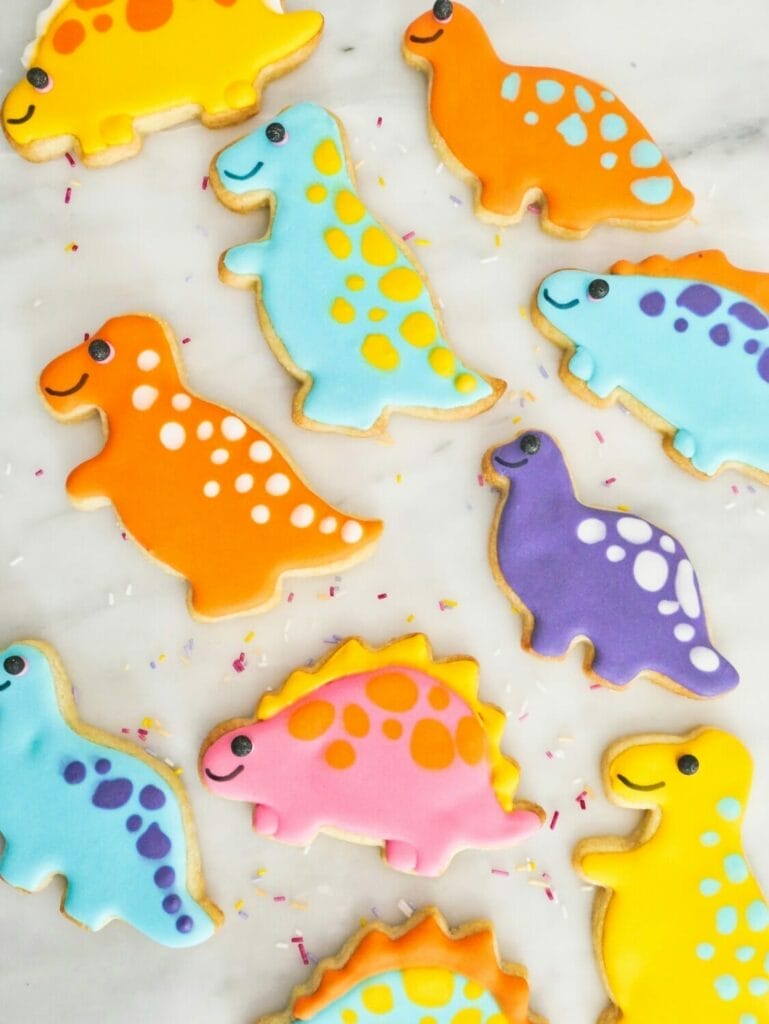
Gorgeous Snowflake Sugar Cookies

These snowflake cookies are perfect for winter or Christmas themed events, and you can’t go wrong as every snowflake is different!

Snowflakes are a fantastic cookie to make for a winter themed event to stand alone or to act as a support for even more detailed Christmas cookies like decorated Christmas trees or decorated Christmas wreaths.

You can use white or blue icing as the base, but I’ve gone blue here for an even more wintry and comforting feel.

They also aren’t so detailed that you can’t make them as a beginner with royal icing.

You just need a willingness to learn and slightly steady hand as you draw on the lines.

Pair them with a snowflake cake for even mor winter fun.

In this snowflake cookie tutorial, I’ll show you how to decorate snowflake cookies, how to make the sugar cookie dough, and how to make the perfect royal icing.

GET A FREE COOKIE RECIPE BOOK & SECRET BAKING HACKS!

With 9 guaranteed-delicious cookie recipes and plenty of secret baking hacks, this is your ad-free key to cookie success!

Leave this field blank

Why Use Royal Icing for Snowflake Cookies?

Royal icing is one of the main types of cookie icing, and it gives the most control and detail available.

Sure, you could use something like buttercream if you just want the cookie to have some sort of icing, but making the detailed lines and having the cookie icing harden so it’s easier to transport and show off requires royal icing.

Royal icing is made with powdered sugar, meringue powder, and water, and I add vanilla extract to add some flavor.

You can also add lemon juice or other flavorings.

I follow this royal icing recipe, which uses meringue powder instead of egg whites to avoid any problems with pregnant women consuming the cookies and allowing them to be stored at room temperature.

Must-Have Baking Tools (seriously)

Tips for Decorating with Royal Icing

Royal icing seems to have its own language, with words like “flood,” “outline,” “peaks,” and more.

Here’s a basic rundown of decorating with royal icing.

Firstly, when you make the actual icing, you can choose between two different consistencies, ie making a thicker one for the “outline” and a thinner one for the “flood,” or making a consistency that’s somewhere in the middle to do both.

People often talk about consistencies in seconds, which is the seconds it takes for the line to disappear if you draw one in the icing with a knife.

I prefer to use one consistency, about 10-12 seconds, for both outlining and flooding.

When you outline a cookie, that literally means you draw an outline around the area you’ll want that same color.

Then, immediately after, without letting it dry, you “flood” the cookie, or fill in the rest of the icing on the base of the cookie in that section.

When you’re using icing in piping bags, you can use tips or you can use a bag without a tip that just has its tip created by the hole you cut off the end.

I like to use tipless bags for most things.

Hold the piping bag in your dominant hand and use the other hand to steady it.

You want to hold it in your fist, not so much like a pencil.

And keep the tip about an inch away from the cookie as you work your way around doing the outlining – closer than that and it can be harder, believe it or not.

How to Make the Dough for Snowflake Cookies

Before you can do the icing, you of course need to make the sugar cookie dough and bake the cookies.

I use this cut-out sugar cookie recipe, which is specifically formulated to make sure that the cookies don’t spread in the oven when you bake them.

This is important to retain the shape you want.

Along the way, you’ll be asked to chill the dough a lot, which keeps the butter from melting and firms up the cookie so that they stay shaped in the oven.

Don’t skip this step, even though it takes more time, as there’s nothing worse than trying to take shortcuts and then ruining your batch of cookies anyway.

I use a hand mixer for this dough, and at the end, I dump it on onto the counter and knead it with my hands to really bring it together.

This can be a better way of finishing it off than continuing to try to mix, as at a certain point, it just needs some elbow grease in there.

To make the dough, you’ll need powdered sugar, granulated sugar, flour, butter, salt, baking powder, vanilla extract, and eggs.

Other Tools You’ll Need for Baking Snowflake Cookies

If you’re a new baker and want to make sure you have all of the other tools together before you start, make sure you have:

Must-Have Decorating Tools

How to Decorate Snowflake Cookies with Royal Icing

To start decorating, use blue icing to outline the snowflake.

Then, immediately flood it with more blue icing.

Give the cookie a little bit of a shake to get the icing settled and smooth, and then let it dry for 8 to 10 hours.

When the base is ready, come back to the cookie and pipe on the details, which you can do with either white or blue icing.

Doing it with the same color as the base often creates a subtle, beautiful effect, so don’t shy away from using the same color!

As I mentioned above, they’re snowflakes, so you can get creative!

I liked to create patterns with lots of straight lines, but you can also add swirls if you want a more whimsical snowflake.

Add edible sprinkles or pearls where you want to give it a more 3D effect.

You can also use dots to create patterns, and repeat it all the way around the cookie.

Mostly, I like to make sure it looks symmetrical and really reflects that geometric beauty found in natural snowflakes.

Yield: 24 cookies

Decorated Snowflake Cookies

Decorated Snowflake Cookies

These decorated snowflake cookies are festive and gorgeous, using royal icing to decorate snowflake sugar cookies.

Prep Time 1 hour
Total Time 1 hour

Ingredients

  • 24 cookies using cut-out sugar cookie dough
  • 1 batch of royal icing, separated in the colors blue and white

Instructions

    1. Bake the snowflake cookies using the sugar cut-out cookie recipe
    2. Make a batch of royal icing using the royal icing recipe
    3. Separate out the royal icing into as many colors as you want to decorate with and put into piping bags
    4. Outline the snowflake in one color
    5. Immediately flood the cookie with the same color
    6. Wait 2 to 3 hours and then decorate the snowflake using the other color (or you can use the same color, like a blue on blue effect that is more subtle but still beautiful)
    7. Let dry for 12 hours

Leave a Comment

Skip to Recipe