Decorated Birthday Cake Cookies

These decorated birthday cake cookies are fun and whimsical, easy to make and a great way to bring a little something different to a birthday party.

The fun in decorated cookies is that you can get creative without risking too much.

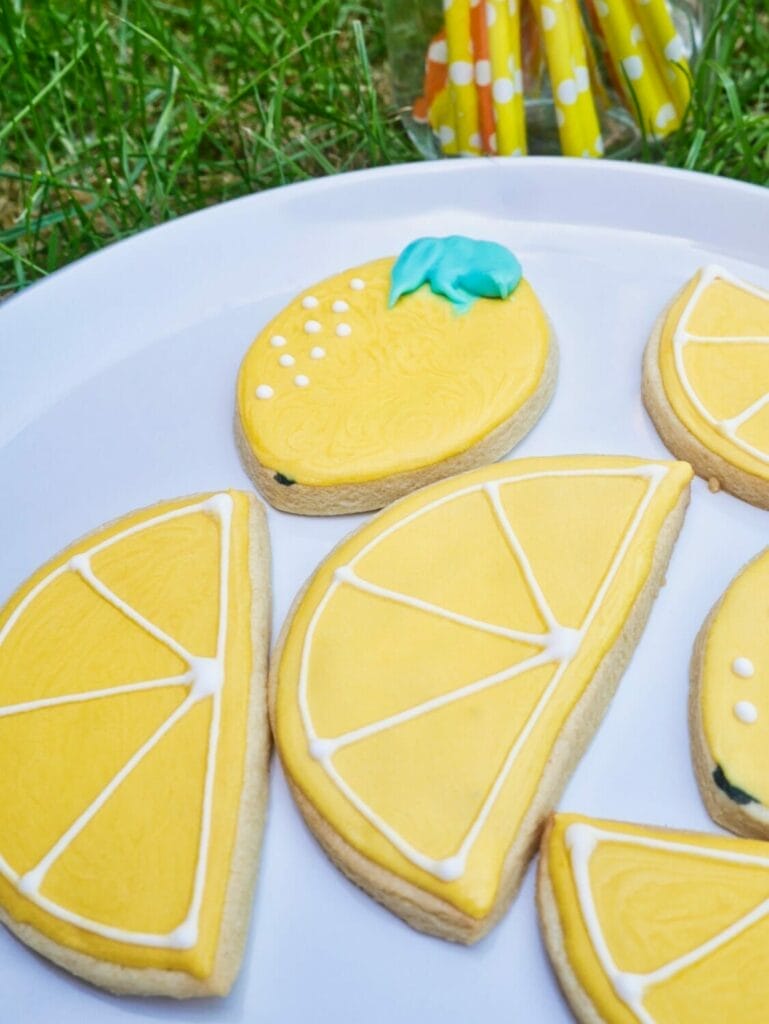
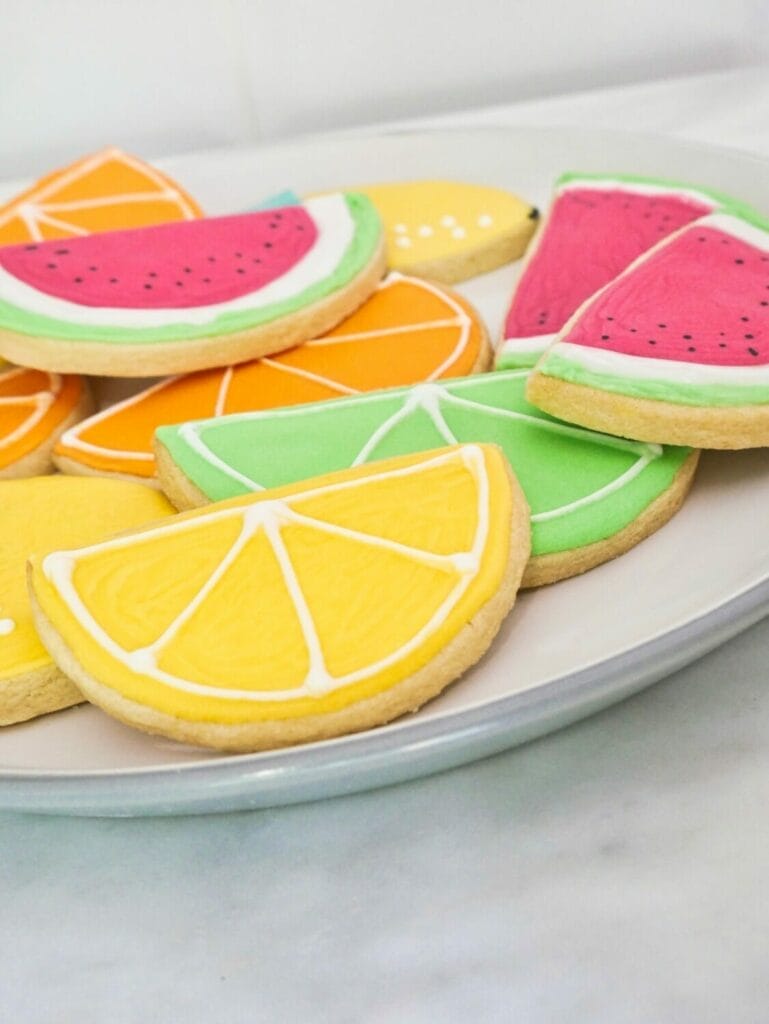
From decorated watermelon cookies to these decorated birthday cake cookies, you can bring something new to the table rather than your standard birthday cake.

All you need is some sugar cookie dough, royal icing, and some creativity and you’ll be on your way to delicious birthday cake cookies.

If you want cake mix cookies instead of decorated birthday cake cookies, check out my red velvet cake mix cookies.

GET A FREE COOKIE RECIPE BOOK & SECRET BAKING HACKS!

With 9 guaranteed-delicious cookie recipes and plenty of secret baking hacks, this is your ad-free key to cookie success!

Leave this field blank

Ingredients You’ll Need

To make decorated birthday cake cookies, you’ll need the ingredients for both the cut-out sugar cookie bases and the royal icing.

I’ve got recipes for both on my site, but if you want to do a skim of the ingredients you’ll need to make sure you have on hand, then you should know you’ll need powdered sugar, meringue powder, water, and vanilla extract for the royal icing.

And for the cut-out sugar cookies, you’ll need powdered sugar, granulated sugar, plain flour, vanilla extract, butter, salt, baking powder, and eggs.

Must-Have Baking Tools (seriously)

Tools You’ll Want

From decorating the cookies with piping bags to how to bake cookies so that they come out the best (use a light colored baking tray!), here are the tools you’ll need for these cookies:

Making the Sugar Cookie Dough

All decorated cookies, from my gorgeous flamingo decorated cookies to decorated XBox controller cookies use a cut-out sugar cookie recipe.

The phrase “cut-out” in the recipe name means that it is designed for the cut-out shapes to stay in tact when baking.

If you’ve ever made chocolate chip cookies or regular sugar cookies, you might know that cookies tend to spread in the oven – and this is what we want for many recipes.

But not for these.

We want crisp and clean edges, so use this cut-out sugar cookie recipe to make that happen.

Other things to remember when baking the cookies is to make sure your oven is completely preheated before baking, and follow the instructions on chilling the dough to ensure that the shapes stay in tact.

I bake for about 8 minutes, just as they are starting to turn a twinge of golden on the edges, and then let them sit on the baking tray for about 15 minutes before moving them to the cooling rack.

Using Royal Icing to Decorate

Royal icing is the icing of choice for these decorated cookies, as it dries hard and smooth, which is what we want for the base of the cookie to be flat with some details on top.

Royal icing can be slightly intimidating if you’re not used to it, but don’t fret!

Follow my royal icing decorating tips, including keeping the tip about an inch off the cookie and letting the icing sort of droop down onto the cookie, and you’ll be completely fine.

You can also learn more about royal icing consistencies in the royal icing recipe that you should follow.

These cookies were made using the same consistency of royal icing – about a 12 second.

You can figure out the consistency of a royal icing in seconds by drawing a line in the icing with a knife and then counting the seconds until the line disappears.

If you want a thicker icing, add more powdered sugar, and if you want a thinner, one add water.

Substitutions

People often wonder if you can make substitutions in recipes.

Maybe you’re allergic to eggs and need an eggless dough, or you need to make something Keto.

In baking, substitutions aren’t a great idea unless you know what you’re doing when you experiment.

I always recommend you find a recipe that already works for your diet, and then just follow my decorating instructions, rather than trying to alter the sugar cookie recipe to fit your requirements.

How to Store Birthday Cake Cookies

You can store birthday cake cookies at room temperature in an airtight container for up to 3 weeks (though they are at their best the first week).

You can freeze the cookie dough and the bases, but I don’t recommend freezing the completed cookies as you can damage the royal icing and have issues with the colors blending together.

Must-Have Decorating Tools

How to Decorate Birthday Cake Cookies

Decorating birthday cake cookies is really fun and simple.

First, separate your royal icing into a few different colors.

Using one color, outline the bottom “block” of the cake and immediately fill it in with the same color icing.

Let that dry for about 30 minutes and then outline and fill in the second block with a different color.

Let them dry for 30 minutes and then pipe some straight lines for the candles, and immediately add on a dot or flame of red for the tops of the candles.

Let this dry for about 2 or 3 hours, and then draw details on the cookies, which can be anything from dots to stripes to a sort of garland pattern.

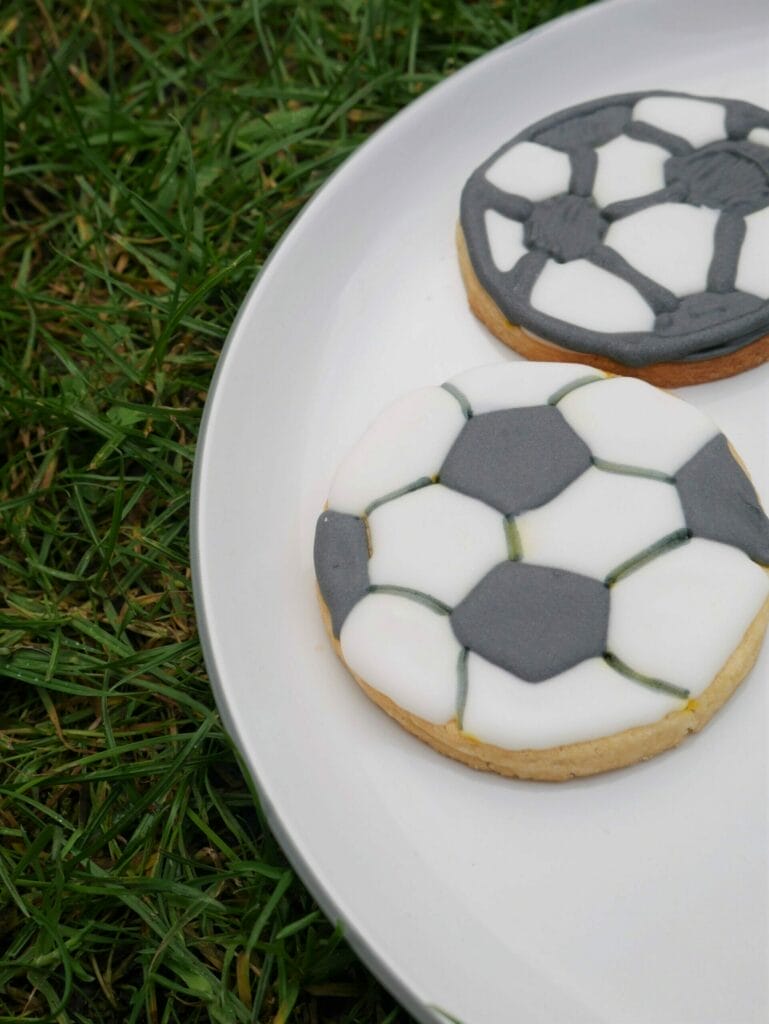
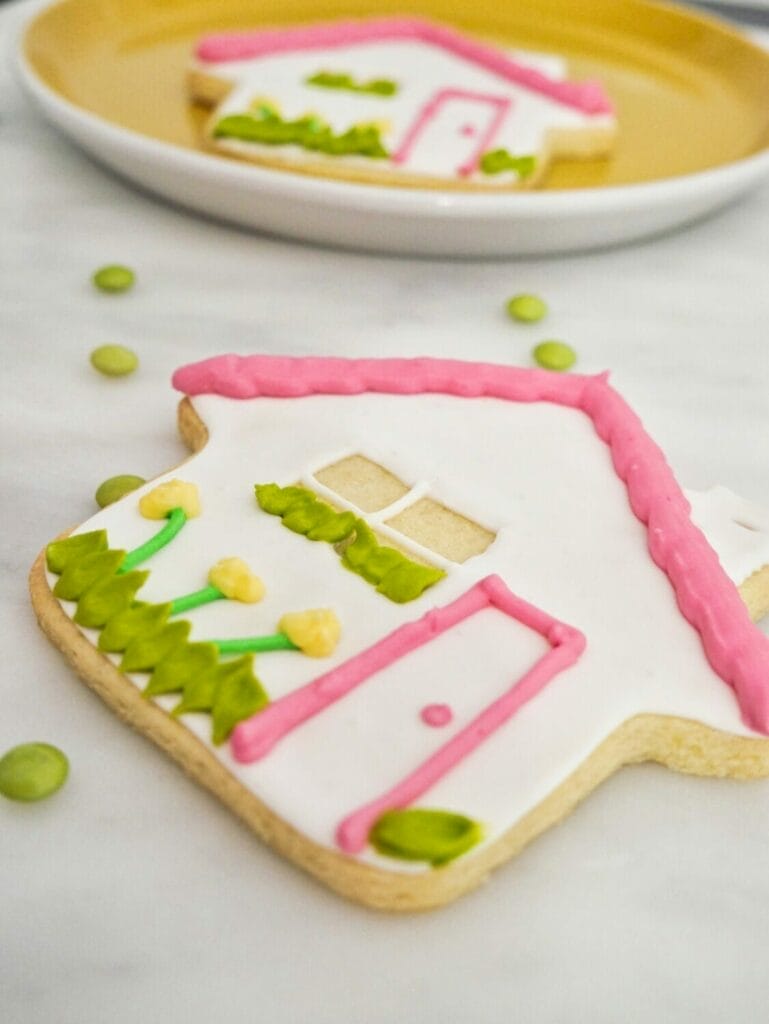
This is your chance to get creative – there are no set rules, just use these photos as inspiration and you’ll soon have your own set of decorated birthday cake cookies to surprise the birthday boy or girl with!

Yield: 24 cookies

Decorated Birthday Cake Cookies

Decorated Birthday Cake Cookies

These decorated birthday cake cookies are perfect for your next celebration for people who prefer cookies to cake!

Prep Time 1 hour
Total Time 1 hour

Ingredients

  • 24 sugar cookies in birthday cake shape
  • 1 batch of royal icing

Instructions

    1. Bake the birthday cake cookies using the sugar cut-out cookie recipe
    2. Make a batch of birthday cake cookies using the royal icing recipe
    3. First, separate your royal icing into a few different colors
    4. Using one color, outline the bottom "block" of the cake and immediately fill it in with the same color icing.
    5. Let that dry for about 30 minutes and then outline and fill in the second block with a different color.
    6. Let them dry for 30 minutes and then pipe some straight lines for the candles, and immediately add on a dot or flame of red for the tops of the candles.
    7. Let this dry for about 2 or 3 hours, and then draw details on the cookies, which can be anything from dots to stripes to a sort of garland pattern.

Leave a Comment

Skip to Recipe