As an Amazon Associate, I earn from qualifying purchases. In addition, I participate in several other affiliate programs that allow me to earn while I recommend products I love.
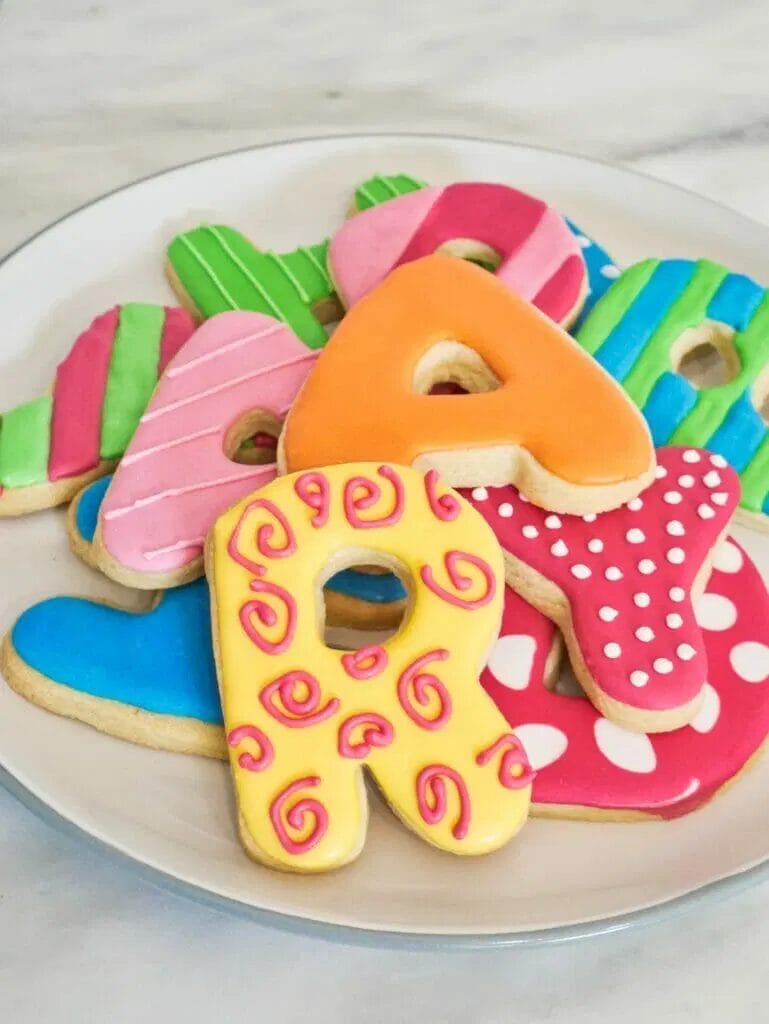
These alphabet letter cookies are great for spelling out names or making cookies for events like “Dad” for Father’s Day or “Birthday” for birthdays. Made using sugar cookies and royal icing, they’re also really fun to make and look smooth and polished.
Letter cookies are so versatile, whether you’re trying to teach your child the ABCS or spell out someone’s name or celebrate a birthday.
I have one set of alphabet cookie cutters with every letter so I can mix and match, and they’ve come in handy more times than I can count.
In this letter cookie tutorial, I’ll teach you how to make letter cookies out of sugar cookies, different ideas for decorating alphabet or letter cookies, and tips on tricks on using royal icing and making this particular dough.
These alphabet letter cookies are…
- super easy and fun to make, no matter your royal icing skill level
- perfect for personalized gifts
- delicious and sturdy, while still being soft to bite into
Ingredients and Tools You’ll Need to Make Alphabet Cookies

Making alphabet cookies requires you to have the ingredients for the sugar cookie dough, as well as for the royal icing.
You can find more information about the exact measurements in my posts on the cut-out sugar cookie dough and my best ever royal icing recipe, but the basics are that you’ll need meringue powder, water, vanilla extract and powdered sugar for the royal icing and for the dough, you’ll need flour, powdered sugar, butter, salt, granulated sugar, eggs, vanilla extract and baking powder.
Other tools you’ll need include:
- scribe or toothpick for moving around the icing if you make a mistake – this is a great brand
- piping bags (or you can use sandwich bags if you don’t have piping bags) – I use these
- any food coloring you want – gel food coloring is better than liquid food coloring for royal icing
- letter cookie cutters – this is the best collection
Tips for Making Cut-Out Sugar Cookie Dough and Royal Icing

I’ve included links to both the cut-out sugar cookie dough recipe and the royal icing recipe in the recipe card below, and you can check out those specific posts for even more instructions, but I wanted to make sure to point out a few things.
Firstly, for the dough, follow the recipe exactly throughout, including the chilling times, as this is what is going to help keep your dough together and not create globs of messy cookies.
You want clean and crisp edges, and making sure you’re chilling your dough at various points will make sure that it turns out nicely.
Another thing to note is that you should only bake them until the edges go slightly golden.
You don’t want to see completely brown edges before taking them out, as the cookies will continue to harden when taken out of the oven and yours will be too hard if they are overbaked before they’re even taken out.
For making the royal icing, I use meringue powder instead of egg whites as I find it easier to work with and its safe for pregnant women.
You’ll want to use a spatula to scrape down the sides of the bowl to make sure all of the powdered sugar is being incorporated.
Basic Royal Icing Tips

Royal icing can be new to the home baker, as many people prefer to stick with basics like buttercream, but royal icing is actually easy to use and dries smooth and shiny, which makes for great looking cookies.
When you’re using royal icing, you’ll want to use piping bags or sandwich bags with the corner cut off, as this is how you get the icing on the cookie – it’s far too runny to do any other way.
Start by outlining the cookie, and then fill it in.
You can layer on top of royal icing to add detailing, you just need to make sure it hardens enough first – I like to leave an hour in between adding more detail on top.
When you’re doing the piping, remember to hold the piping bag about an inch away from the cookie and let the icing drop onto the cookie (guided, of course) rather than keeping the tip right next to the cookie.
Believe it or not, this gives you more control and makes for a smoother outline.
Can You Freeze Alphabet Letter Cookies?
People often want to know about freezing and storing these cookies.
Yes, you can freeze alphabet letter cookies after you’ve baked the cookie base, but I wouldn’t recommend freezing once decorated.
Instead, once you’ve decorated with royal icing, store at room temperature in an air tight container for 2- 3 weeks.
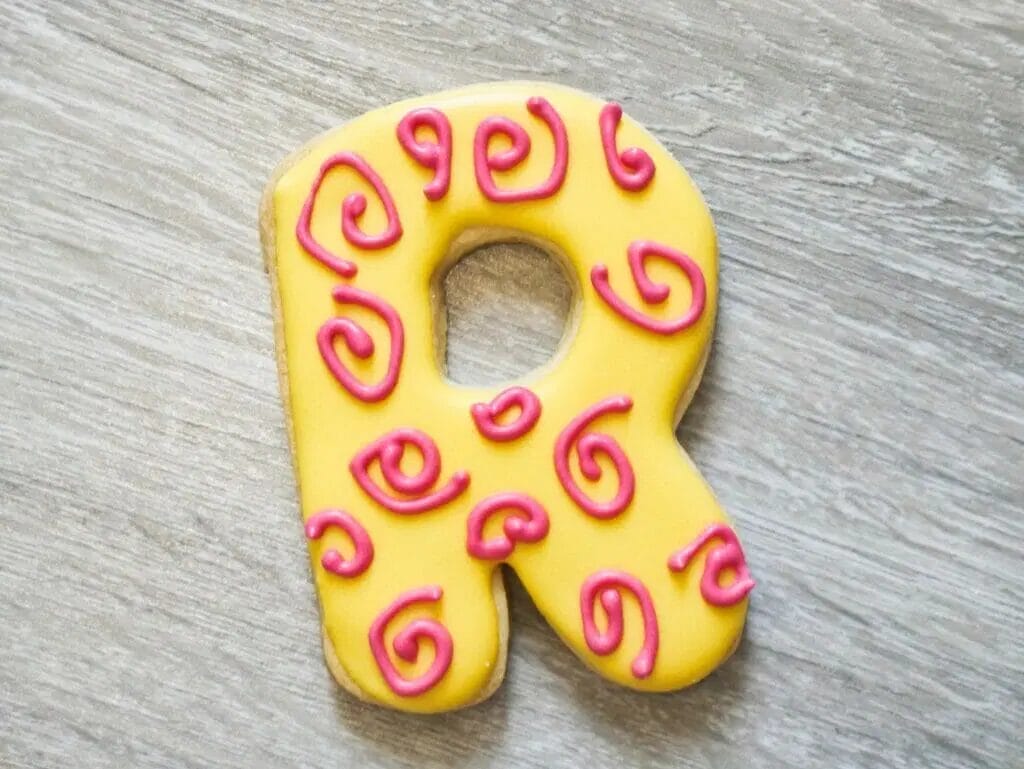
How to Decorate Letter Cookies with Royal Icing
The world is your oyster when it comes to decorating letters with royal icing!
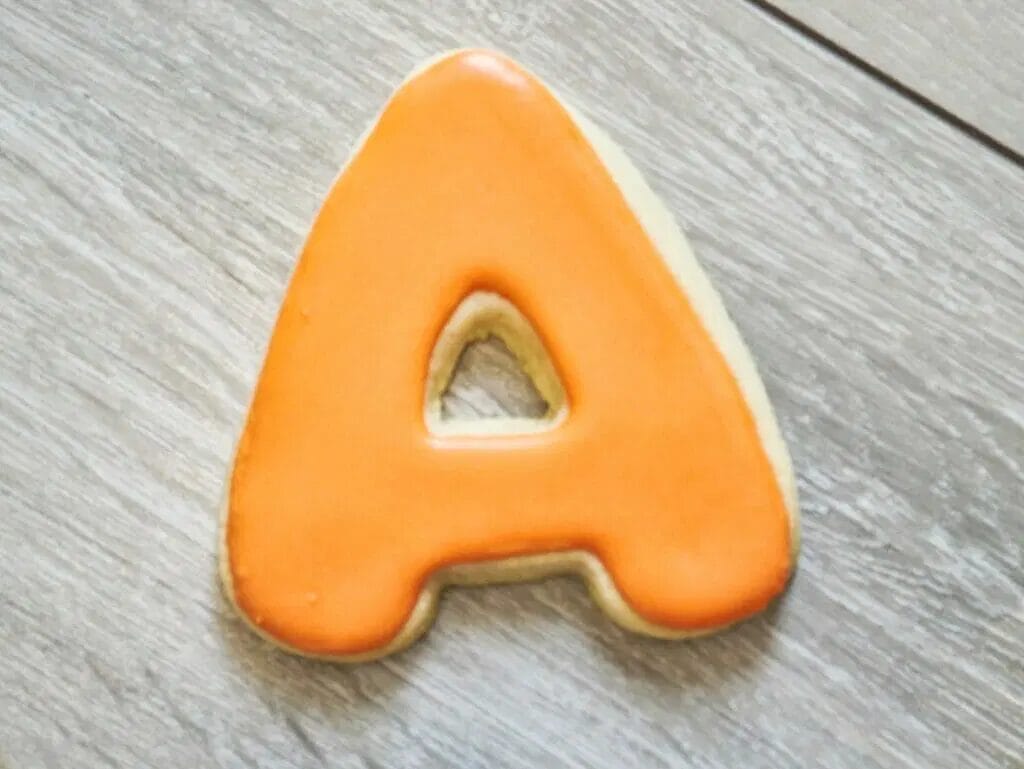
You can keep it simple and do an outline and then flood the cookie with the same color.
You could, from there, add detail such as stripes or polka dots.
You could also add the detail within the base of the first layer without waiting for it to dry.
This is the “wet on wet” technique, and creates a smooth look like this example.

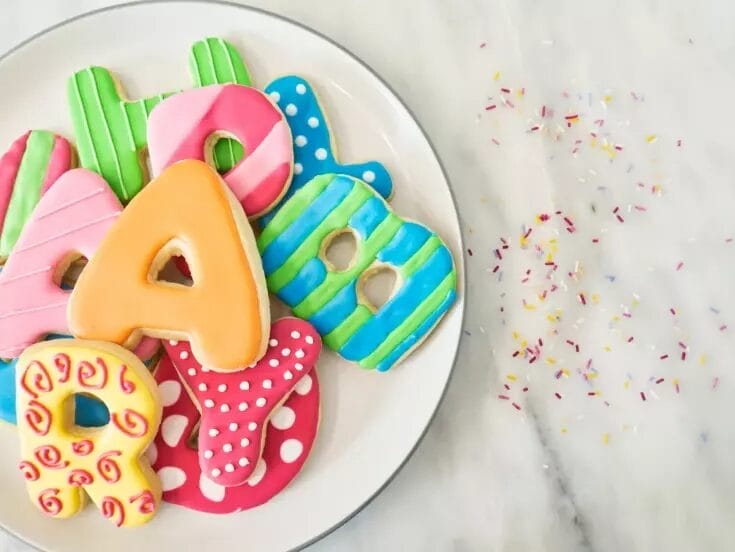
You could also create stripes on the cookie by alternating what colors you use for the base layer.

For this, outline each stripe of one color and fill them all in, and then wait for it to dry for an hour or so before going in and filling in the rest of the cookie with the other color.