
As an Amazon Associate, I earn from qualifying purchases. In addition, I participate in several other affiliate programs that allow me to earn while I recommend products I love.
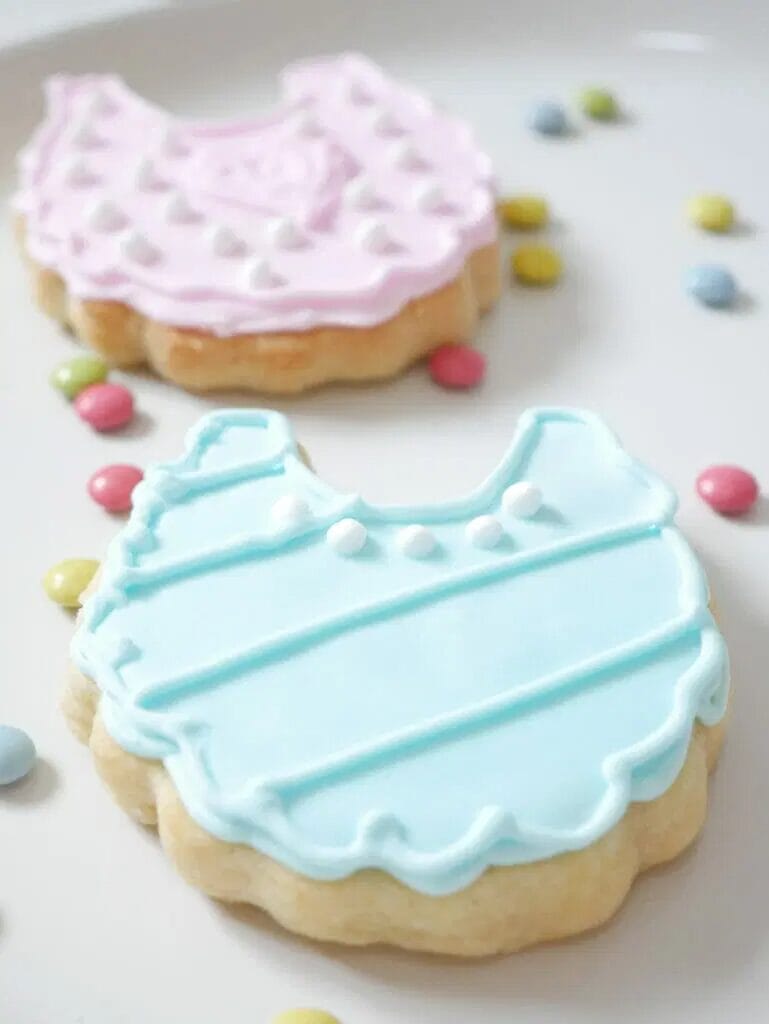
These baby bib cookies are super easy to make at home and make for great cookies for new parents or baby shower cookies.
When I first learned to make decorated cookies with royal icing, I was incredibly intimidated.
It felt like something that was reserved for the perfect Instagram accounts or expert bakers.
But these were all made in a home kitchen with a little bit of practice and a lot of love.
These baby bib cookies are:
- able to be personalized easily
- super delicious and chewy
- a great treat for baby showers or new parents
- fun to customize with sprinkles, edible jewels and more
This baby bib cookie recipe requires you to have a baby bib cookie cutter, as well as a mixer which will help you put together both the sugar cookie dough and the royal icing.
I’ve used my classic cut-out sugar cookie recipe for this, but you could also do varying flavors including chocolate cut-out cookies or lemon cut-out cookies.
You want to choose a recipe that’s going to hold it’s shape, so things like chocolate chip cookies are out.
Can You Refrigerate Baby Bib Cookies?
You can refrigerate baby bib cookies for up to about a week, but you won’t need to as they can be left at room temperature.
Can You Freeze Baby Bib Cookies?
Yes, you can freeze baby big cookies for up to a month, but I would recommend making them fresh or only freezing the bases and then decorating later on, as you run the risk of ruining your royal icing decorations if you freeze after finishing the whole cookie.
Tips for Decorating Baby Bib Cookies
You’ll find tips for making both the royal icing recipe and the sugar cookie cut-out recipe in their respective posts, but I want to talk about some decorating tips when it comes to working with royal icing.
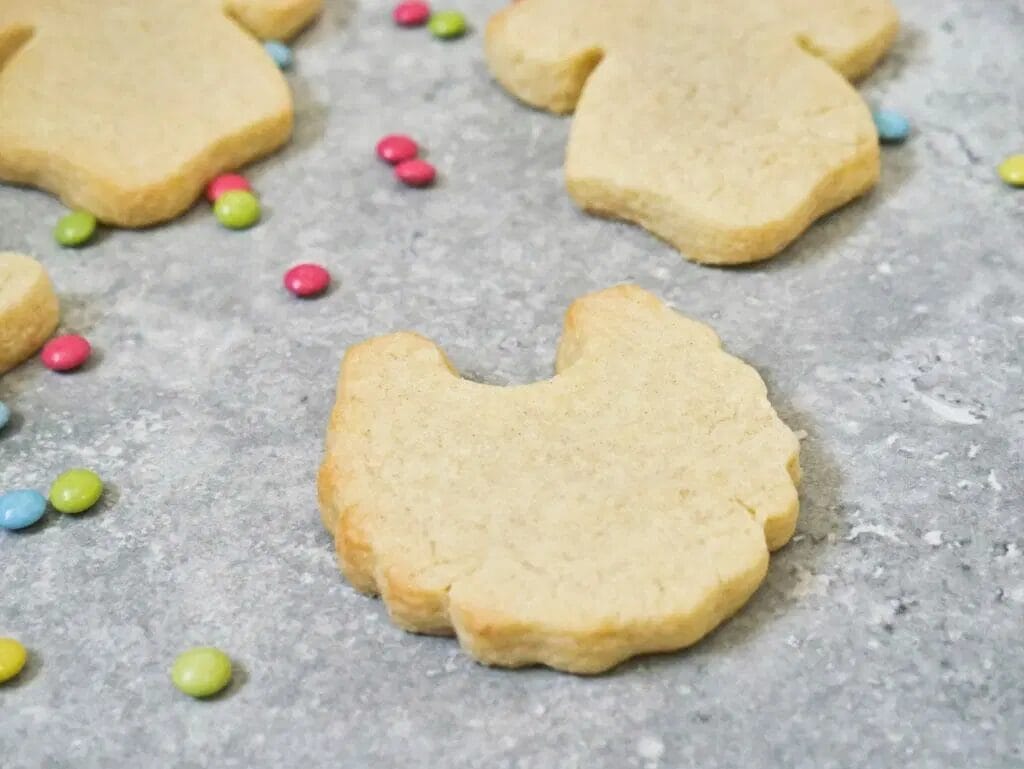
Firstly, you want to make sure you start off with a flat cookie.
If your cookie is uneven, the icing will drip off and it will be much harder to decorate with the royal icing.
Secondly, when decorating, make sure you have a stiff enough “line” icing (you can read more about this in the royal icing recipe), as if it’s too runny, you won’t have that firm boundary to keep the other icing in place.
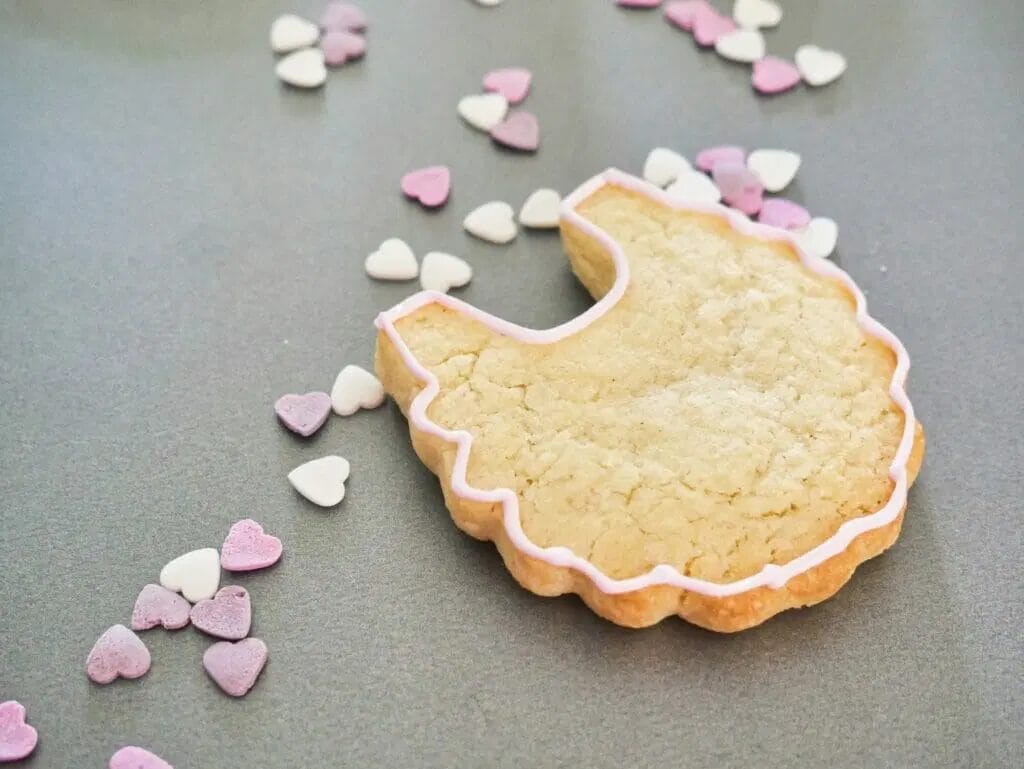
You also want to make sure that you are paying attention to detail and following the curves of the cookie, especially with these bib cutouts which have those wavy sides.
Take your time and don’t rush yourself.
Techniques for Decorating Baby Bib Cookies
Decorating with royal icing is something that comes with practice, but the basics that you need to know are that you first need to pipe your “line” icing around the outside of the cookie or wherever you want to create separate “sections” on the cookie.
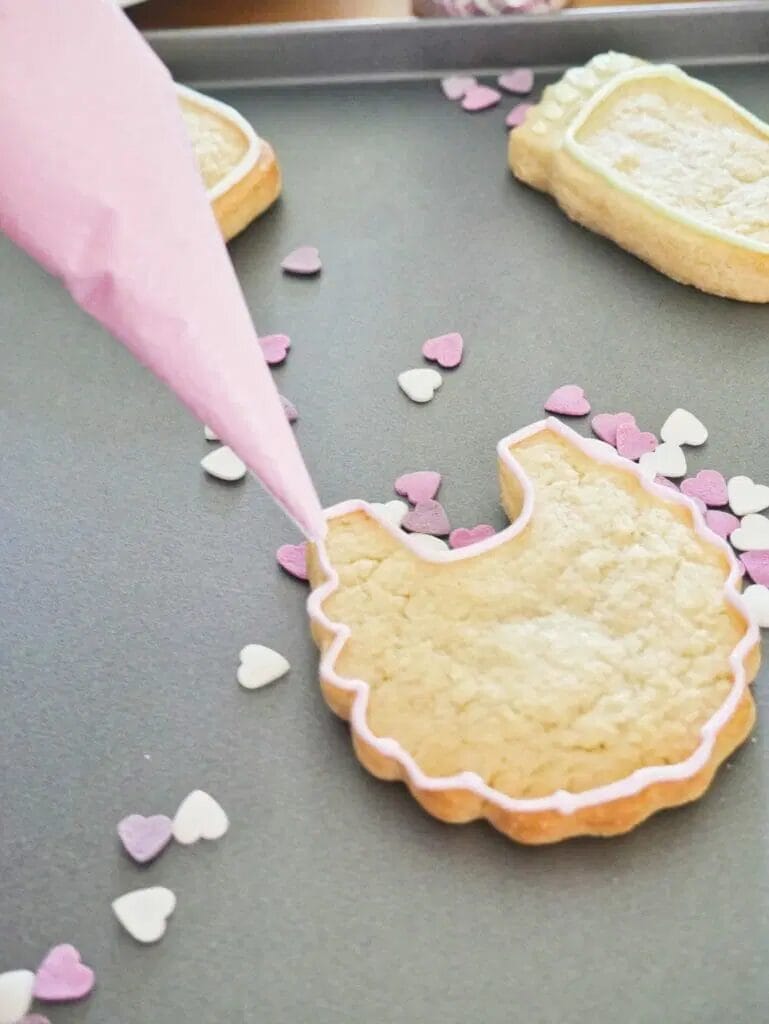
Let this dry for 5 to 10 minutes, and then you can go in with your flood icing to fill in the cookie.
For piping, you can either use your own sandwich bags if you have nothing else with a tiny bit at the end cut off, or you can buy piping bags made for purpose.
To keep your outline steady, you should actually hold the tip of your icing bag an inch or so away from the cookie and let the line sort of fall into place, rather than feeling like you’re coloring it on with the tip right next to the cookie.
After the initial layer is set, I like to give it another 10 to 15 minutes, then you can add on any decoration you want.
I like to outline the cookie again with the line to give it some definition, and then add any hearts, circles, words or whatever else you want to add.
If you want to add some decoration within the base of the first layer of icing, say, polka dots that are within the first layer rather than on top of them, you would do your flood layer with whatever color you want, then, immediately after, take another color in its flood consistency and do the polka dots.
They will sink into the base layer and when it’s dry, it will look like it’s seamlessly one layer.
This works best for things like stripes and polka dots, not so much for lettering or anything that you want to appear to be detailed.
Tools for Making Baby Bib Cookies
To have the perfect arsenal for making baby bib cookies, you will want a rolling pin, piping bags, a scribe (that detail tool that allows you to pop any air bubbles in your icing or fix your mistakes on your cookie as you go), and food coloring.
You can get away with doing an at-home version using ziploc bags for the piping bags and a toothpick for the scribe, but you can’t get around wanting a rolling pin or food coloring if you want to create beautiful and symmetrical cookies.
How to Make Baby Bib Cookies
First, you’re going to want to make the sugar cut-out cookie recipe and use the baby bib cutters.
Let these completely cool on a wire rack, and spend this time creating your royal icing.
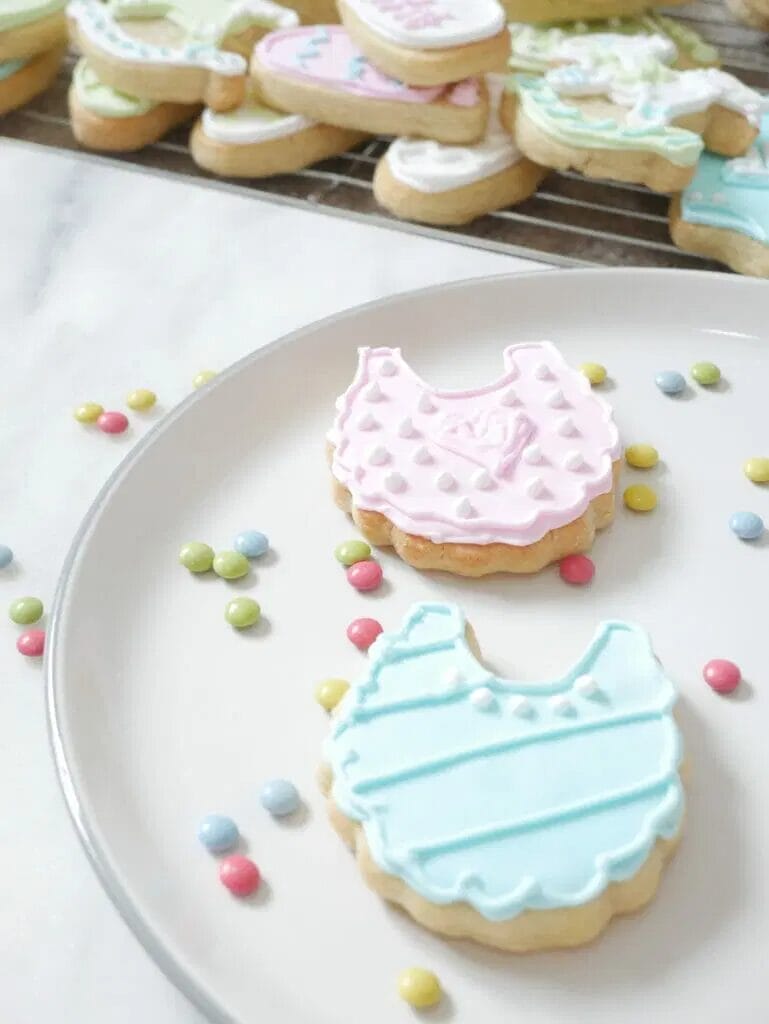
You’ll want to make at least 2 colors if you’re sticking to basics to give the cookies some depth and interesting designs, but I usually opt for 3-4 colors when making my cookies so they stick with the same color scheme, but don’t all look alike.
Once you have the royal icing in their piping bags, use your stiffer icing, the “line” icing to create an outline on the outside of the bib.
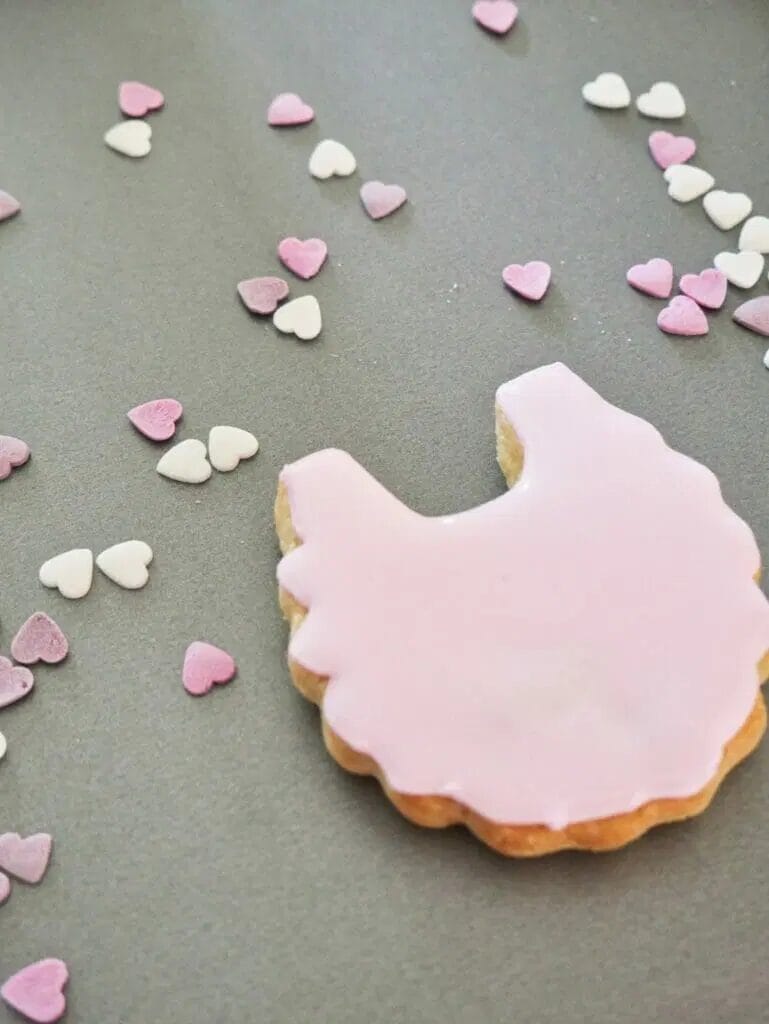
Then, with the same color, after about 5 minutes of drying, pipe in the “flood” icing and spread it around, filling in all of the gaps on the cookie.
Once that’s set after another 10 or so minutes, you can get creative and draw polka dots, maybe write the name of the baby, add hearts, add stripes, or whatever else you want to do.
Do all of these using the “line” icing, as that is the stiff one for adding details.
If you try to do details with flood icing, your cookie will become a goopy mess.
Then, let your cookies dry for 6 to 8 hours so you know the icing is fully set, and enjoy!